PART OF CATALOG
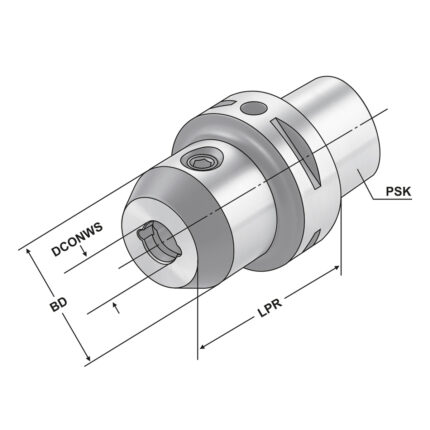
Morse taper adaptor HSK 63 – 4 – 160
Application:
For clamping tools with Morse taper shank and thread according to DIN 228-1 form A.
Delivery:
With built-in tightening bolt
- All holders are made of forged steel
- Specific, low warpage hardened
- Surface hardened HRC 58~60
- Hardening depth 0,8mm~0,9mm
- Taper angle tolerance < AT 3 according to DIN 2080
- Surface roughness Ra < 0,4 µm
- Tensile strength in the core of min. 800 N/mm? after DIN
- All functional surfaces fine machined
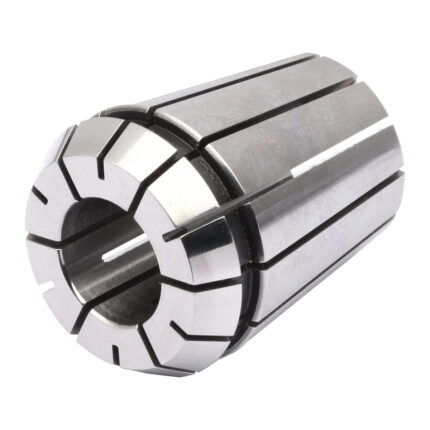
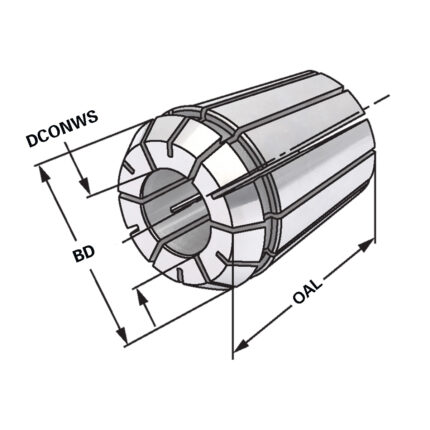
ER-Precision collet ER25 | 430EP | < 5µm | O 4 - 3
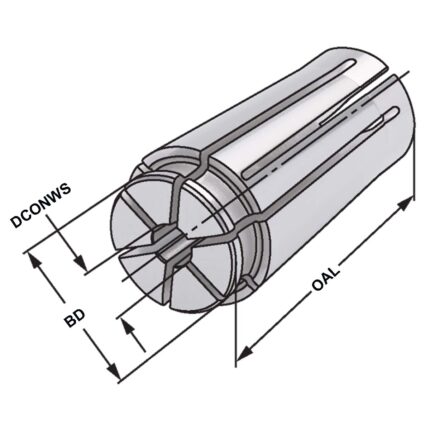
KPS-Prazisionsspannzange abgedichtet KPS 10 | < 5µm | O 4,0
End mill holder Weldon HSK 100 – 40 – 160
Application:
For mounting straight-shank tools with lateral flat according to DIN 1835 form B (Weldon).
Delivery:
With clamping screw
- All holders are made of forged steel
- Specific, low warpage hardened
- Surface hardened HRC 58~60
- Hardening depth 0,8mm~0,9mm
- Taper angle tolerance < AT 3 according to DIN 2080
- Surface roughness Ra < 0,4 µm
- Tensile strength in the core of min. 800 N/mm? after DIN
- All functional surfaces fine machined
OZ-Precision collet OZ25 | 462EP | < 5µm | O 15 - 14,5
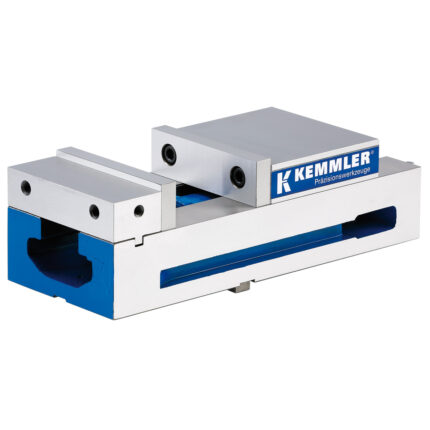
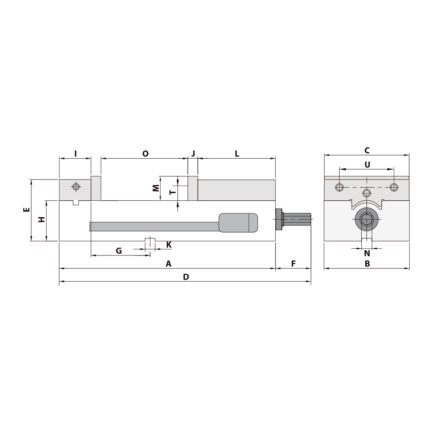
Precision vice AMC-40G/HV mechanical
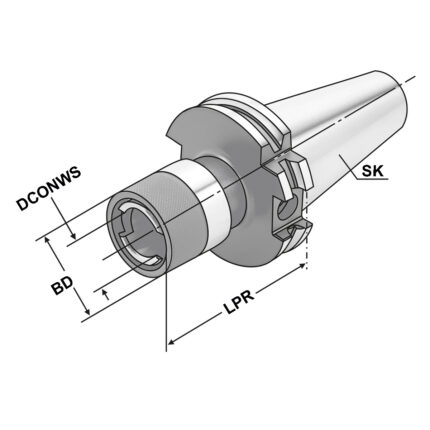
Quick change tapping chuck SK 50 – M14-M36 – Gr.3
Application:
For the chucking of quick change adaptors for taps.
Note:
For machining centres with synchronous spindle.
- All holders are made of forged steel
- Specific, low warpage hardened
- Surface hardened HRC 58~60
- Hardening depth 0,8mm~0,9mm
- Taper angle tolerance < AT 3 according to DIN 2080
- Surface roughness Ra < 0,4 µm
- Tensile strength in the core of min. 800 N/mm? after DIN
- All functional surfaces fine machined
FREE CONSULTATION


