PART OF CATALOG

Dial indicator analogue O 58 | 0,01 | 5 mm

49.00

Construction:

  • Graduation: 0.01mm; 0.001mm
  • Dial face dia.: O58mm
  • Metal housing with rotating lever gauge
  • Easy to read dial face
  • Jeweled
  • Stem diameter: O 8mm h6

Delivery:

  • Warranty card
  • Instruction manual
  • Calibration certificate

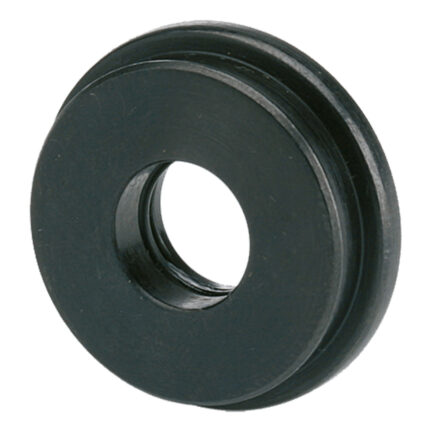
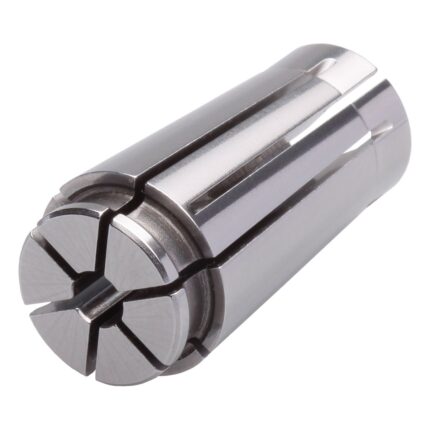
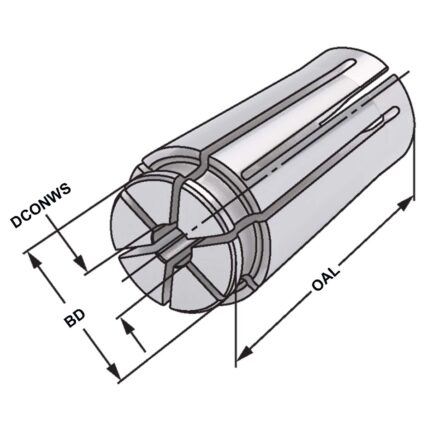
ER-Collet with seal for IC ER32 | 470EH | < 15µm | O 12

49.00

Application:
Collets sealed for high pressure cooling 120 bar with IC DIN 6499 B (ISO 15488 B) ER-system


Note:
Only nominal size d can be clamped (applicable up to 120 bar). In order to achieve an optimum sealing the tool must be clamped on the complete length of the ground drill of the collet.

Shrink chuck 4,5° HSK 100 – 10 – 200

265.00

Application:
For mounting tools with straight shanks.


Note:
Toolholders suitable for induction-, contact- and hot air shrink units. O 3, 4, 5 with h4-tolerance and O 6 – O 32 with h6-tolerance


For O 3, 4 and 5 mm only solid carbide tool shanks must be used!
  • All holders are made of forged steel
  • Specific, low warpage hardened
  • Surface hardened HRC 58~60
  • Hardening depth 0,8mm~0,9mm
  • Taper angle tolerance < AT 3 according to DIN 2080
  • Surface roughness Ra < 0,4 µm
  • Tensile strength in the core of min. 800 N/mm? after DIN
  • All functional surfaces fine machined


Swivel base for machine vice ATW-675 / ATW689

155.00

Construction:
Bearing edge ground, 360° graduations for angular adjustment.


Delivery:
With securing screws and Tee-nuts.

Shrink chuck 4,5° BT 30 – 18 – 90

141.00

Application:
For mounting tools with straight shanks.


Note:
Toolholders suitable for induction-, contact- and hot air shrink units. O 3, 4, 5 with h4-tolerance and O 6 – O 32 with h6-tolerance


For O 3, 4 and 5 mm only solid carbide tool shanks must be used!


  • All holders are made of forged steel
  • Specific, low warpage hardened
  • Surface hardened HRC 58~60
  • Hardening depth 0,8mm~0,9mm
  • Taper angle tolerance < AT 3 according to DIN 2080
  • Surface roughness Ra < 0,4 µm
  • Tensile strength in the core of min. 800 N/mm? after DIN
  • All functional surfaces fine machined

End mill holder Weldon with cooling channels SK 50 – 18 – 160

167.00

Application:
For mounting straight-shank tools with lateral flat according to DIN 1835 form B (Weldon).


Delivery:
With clamping screw and O-ring


  • All holders are made of forged steel
  • Specific, low warpage hardened
  • Surface hardened HRC 58~60
  • Hardening depth 0,8mm~0,9mm
  • Taper angle tolerance < AT 3 according to DIN 2080
  • Surface roughness Ra < 0,4 µm
  • Tensile strength in the core of min. 800 N/mm? after DIN
  • All functional surfaces fine machined


Hydraulic expansion chuck BT 50-20-110 JIS B 6339 (MAS-BT) AD/B in wooden box

578.00

Application:
For mounting straight-shank tools acc. DIN 1835 form A+B+E and DIN 6535 form HA+HB+HE (larger than dia. 20 mm only with reduction sleeve).


Note:
l1 = max. clamping depth l2 = max. length adjustment range


Delivery:
With wrench


  • All holders are made of forged steel
  • Specific, low warpage hardened
  • Surface hardened HRC 58~60
  • Hardening depth 0,8mm~0,9mm
  • Taper angle tolerance < AT 3 according to DIN 2080
  • Surface roughness Ra < 0,4 µm
  • Tensile strength in the core of min. 800 N/mm? after DIN
  • All functional surfaces fine machined


End mill holder Weldon with cooling channels HSK 100 – 18 – 100

157.00

Application:
For mounting straight-shank tools with lateral flat according to DIN 1835 form B (Weldon).


Delivery:
With clamping screw and O-ring


  • All holders are made of forged steel
  • Specific, low warpage hardened
  • Surface hardened HRC 58~60
  • Hardening depth 0,8mm~0,9mm
  • Taper angle tolerance < AT 3 according to DIN 2080
  • Surface roughness Ra < 0,4 µm
  • Tensile strength in the core of min. 800 N/mm? after DIN
  • All functional surfaces fine machined


FREE CONSULTATION

Have questions?
Leave a request