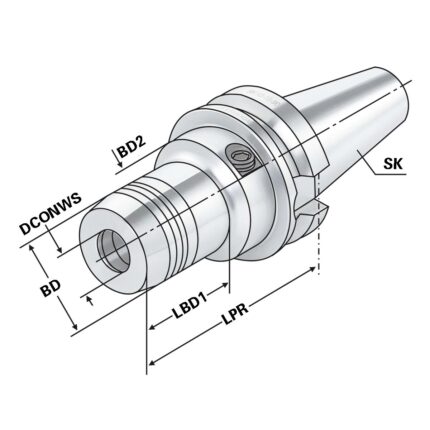
CNC-Drill chuck BT 40 – 0.5/8 – 78
Application:
For mounting tools with straight shanks.
Delivery:
- All holders are made of forged steel
- Specific, low warpage hardened
- Surface hardened HRC 58~60
- Hardening depth 0,8mm~0,9mm
- Taper angle tolerance < AT 3 according to DIN 2080
- Surface roughness Ra < 0,4 µm
- Tensile strength in the core of min. 800 N/mm? after DIN
- All functional surfaces fine machined
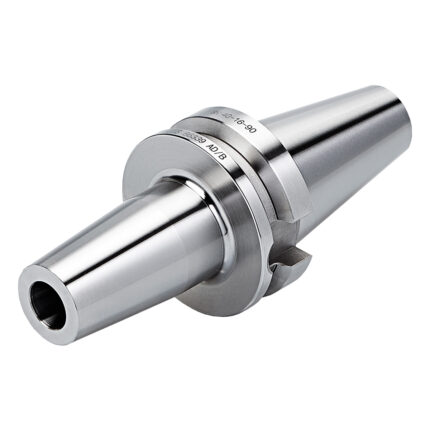
Hydraulic expansion chuck BT 30 – 18 – 90
Application:
For mounting straight-shank tools acc. DIN 1835 form A+B+E and DIN 6535 form HA+HB+HE (larger than dia. 20 mm only with reduction sleeve).
Note:
l1 = max. clamping depth l2 = max. length adjustment range
Delivery:
With wrench
- All holders are made of forged steel
- Specific, low warpage hardened
- Surface hardened HRC 58~60
- Hardening depth 0,8mm~0,9mm
- Taper angle tolerance < AT 3 according to DIN 2080
- Surface roughness Ra < 0,4 µm
- Tensile strength in the core of min. 800 N/mm? after DIN
- All functional surfaces fine machined
End mill holder Weldon with cooling channels SK 40 – 20 – 100
Application:
For mounting straight-shank tools with lateral flat according to DIN 1835 form B (Weldon).
Delivery:
With clamping screw and O-ring
- All holders are made of forged steel
- Specific, low warpage hardened
- Surface hardened HRC 58~60
- Hardening depth 0,8mm~0,9mm
- Taper angle tolerance < AT 3 according to DIN 2080
- Surface roughness Ra < 0,4 µm
- Tensile strength in the core of min. 800 N/mm? after DIN
- All functional surfaces fine machined
ER-Precision collet chuck BT 40 – 2/20 – 150 | ER 32
Application:
For mounting straight-shank tools in 2 µm-collets.
Advantage:
- Excellent concentricity in the system (chuck + collet + clamping nut)
- 3 µm radial run-out with a 2 µm clamping nut, 6 µm radial run-out with a 5 µm clamping nut
- Extremely strong holding force (increases the holding power by at least 60% compared to standard ER chuck)
- Plain clamping nut without grooves for high speed machining
Shrink chuck 4,5° BT 40 – 10 – 90
Application:
For mounting tools with straight shanks.
Note:
Toolholders suitable for induction-, contact- and hot air shrink units. O 3, 4, 5 with h4-tolerance and O 6 O 32 with h6-tolerance
For O 3, 4 and 5 mm only solid carbide tool shanks must be used!
- All holders are made of forged steel
- Specific, low warpage hardened
- Surface hardened HRC 58~60
- Hardening depth 0,8mm~0,9mm
- Taper angle tolerance < AT 3 according to DIN 2080
- Surface roughness Ra < 0,4 µm
- Tensile strength in the core of min. 800 N/mm? after DIN
- All functional surfaces fine machined
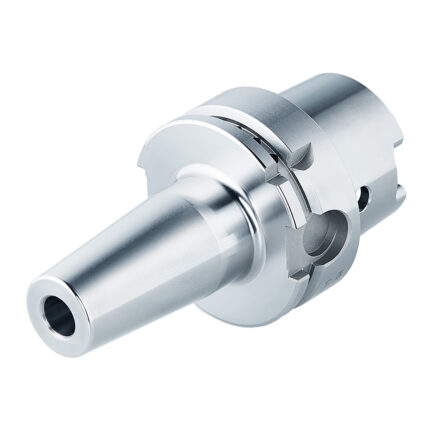
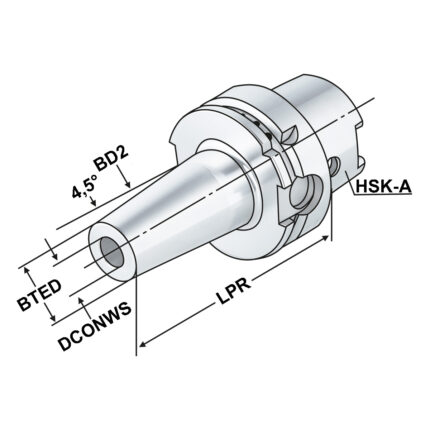
Shrink chuck 4,5° HSK 63 – 25 – 200
Application:
For mounting tools with straight shanks.
Note:
Toolholders suitable for induction-, contact- and hot air shrink units. O 3, 4, 5 with h4-tolerance and O 6 O 32 with h6-tolerance
For O 3, 4 and 5 mm only solid carbide tool shanks must be used!
- All holders are made of forged steel
- Specific, low warpage hardened
- Surface hardened HRC 58~60
- Hardening depth 0,8mm~0,9mm
- Taper angle tolerance < AT 3 according to DIN 2080
- Surface roughness Ra < 0,4 µm
- Tensile strength in the core of min. 800 N/mm? after DIN
- All functional surfaces fine machined


