PART OF CATALOG
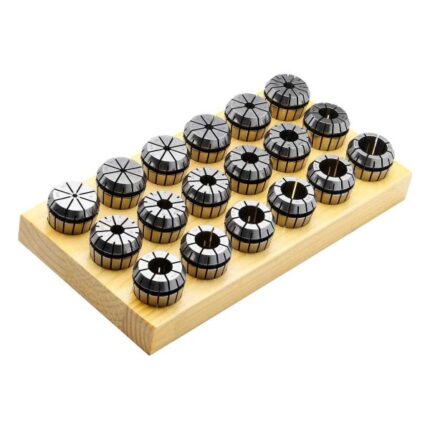
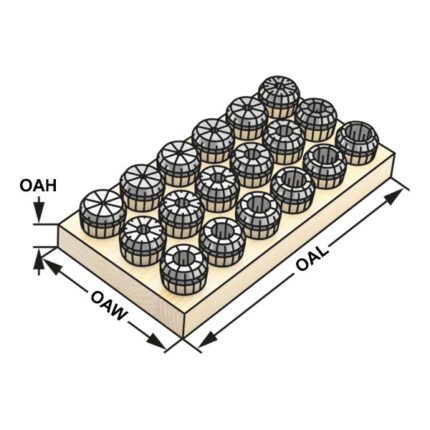
Collet sets ER25 | 430E | 15-part kit in wooden socket | DIN 6499 B (ISO 15488 B)
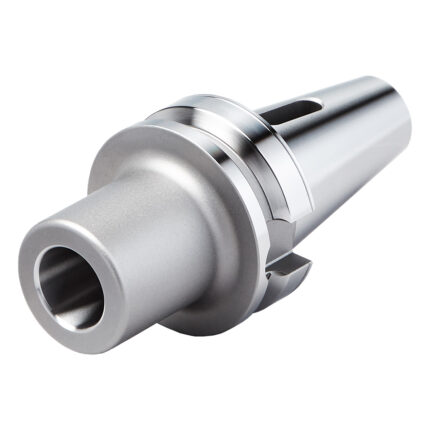
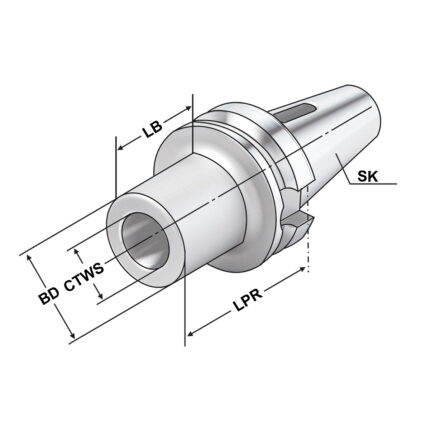
End mill holder Weldon SK 50 – 14 – 130
Application:
For mounting straight-shank tools with lateral flat according to DIN 1835 form B (Weldon).
Delivery:
With clamping screw
- All holders are made of forged steel
- Specific, low warpage hardened
- Surface hardened HRC 58~60
- Hardening depth 0,8mm~0,9mm
- Taper angle tolerance < AT 3 according to DIN 2080
- Surface roughness Ra < 0,4 µm
- Tensile strength in the core of min. 800 N/mm? after DIN
- All functional surfaces fine machined
Morse taper adaptor BT 40 – 2 – 50
Application:
For mounting tools with Morse taper shank and tang according to DIN 228-1 form B.
- All holders are made of forged steel
- Specific, low warpage hardened
- Surface hardened HRC 58~60
- Hardening depth 0,8mm~0,9mm
- Taper angle tolerance < AT 3 according to DIN 2080
- Surface roughness Ra < 0,4 µm
- Tensile strength in the core of min. 800 N/mm? after DIN
- All functional surfaces fine machined
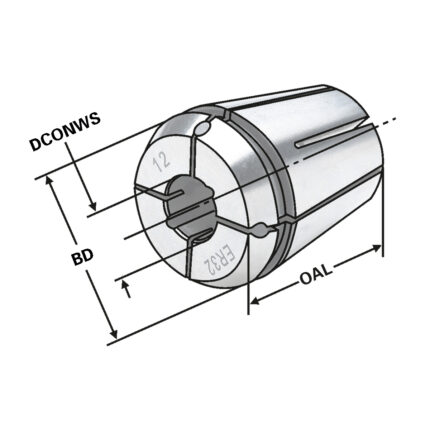
ER-Collet ER40 | 472E | < 15µm | O 11 - 10
ER-Spannzange mit Kuhlkanalen ER40 | 472ECC | < 15µm | O 13
Ring gauge | 92mm ring gauge-accuracy DIN 2250
FREE CONSULTATION


