PART OF CATALOG
OZ-Precision collet OZ16 | 415EP | < 5µm | O 6 - 5,5
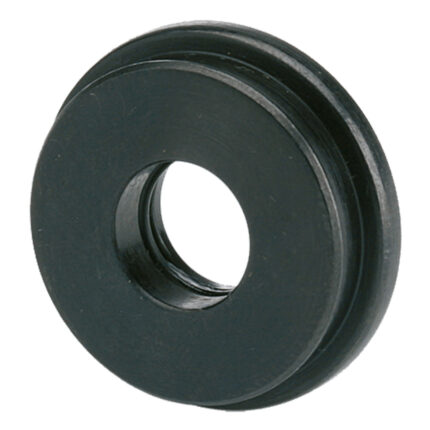
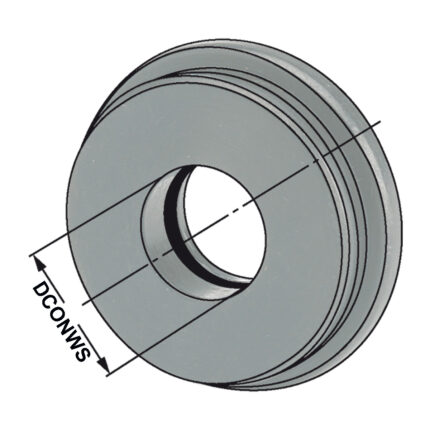
Sealing disc | ER 40 DCONWS = 14,0
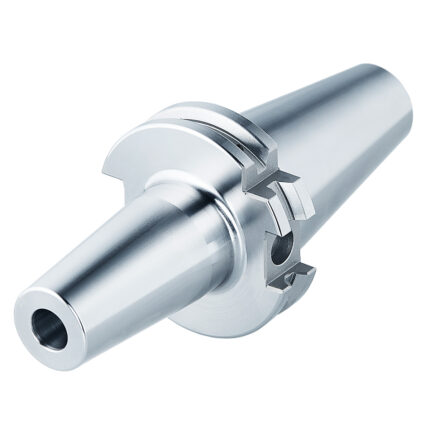
End mill holder Weldon HSK 50 – 14 – 80
Application:
For mounting straight-shank tools with lateral flat according to DIN 1835 form B (Weldon).
Delivery:
With clamping screw
- All holders are made of forged steel
- Specific, low warpage hardened
- Surface hardened HRC 58~60
- Hardening depth 0,8mm~0,9mm
- Taper angle tolerance < AT 3 according to DIN 2080
- Surface roughness Ra < 0,4 µm
- Tensile strength in the core of min. 800 N/mm? after DIN
- All functional surfaces fine machined
KPS-Prazisionsspannzange abgedichtet KPS 10 | < 5µm | O 10,0
End mill holder Weldon with cooling channels SK 40 – 14 – 130
Application:
For mounting straight-shank tools with lateral flat according to DIN 1835 form B (Weldon).
Delivery:
With clamping screw and O-ring
- All holders are made of forged steel
- Specific, low warpage hardened
- Surface hardened HRC 58~60
- Hardening depth 0,8mm~0,9mm
- Taper angle tolerance < AT 3 according to DIN 2080
- Surface roughness Ra < 0,4 µm
- Tensile strength in the core of min. 800 N/mm? after DIN
- All functional surfaces fine machined
Sealing disc | OZ 32 DCONWS = 9,5
Shrink chuck 4,5° SK 40 – 32 – 160
Application:
For mounting tools with straight shanks.
Note:
Toolholders suitable for induction-, contact- and hot air shrink units. O 3, 4, 5 with h4-tolerance and O 6 O 32 with h6-tolerance5
For O 3, 4 and 5 mm only solid carbide tool shanks must be used!
- All holders are made of forged steel
- Specific, low warpage hardened
- Surface hardened HRC 58~60
- Hardening depth 0,8mm~0,9mm
- Taper angle tolerance < AT 3 according to DIN 2080
- Surface roughness Ra < 0,4 µm
- Tensile strength in the core of min. 800 N/mm? after DIN
- All functional surfaces fine machined
FREE CONSULTATION


