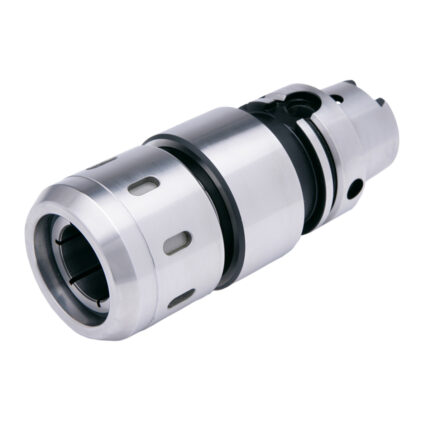
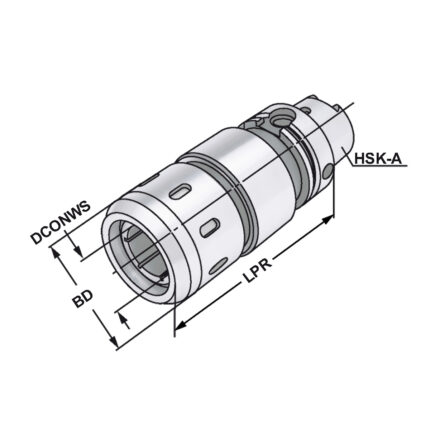
Milling Chuck HSK 100 – 20 – 105
End mill cutter 90° 25mm – 25mm Shank after DIN 1835B
Radial toolholder – form B1 right short B1 – 50 x 32 – 55
Application:
Mainly for external machining. For face machining.
Precision coolant supply: Improves chip evacuation and decreases the risk for chip jamming, critical factors for successful deep face grooving operations. Effective from low to high coolant pressures.With high precision coolant you get improved
chip breaking, longer tool life, better process security and productivity. Improves chip evacuation and decreases the risk for chip jamming, critical factors for successful deep face grooving operations. Effective from low to high coolant pressures.
Precision vice AVQ-125G/HV mechanical with mechanical booster
Construction:
- With mechanical booster - Clamping force preadjustable by graduation lines
- Clamping positions: horizontal, vertical and lateral
- The steel body is hardened and grinded all-round
- Integrated pull-down mechanism
- Bed height H: 0,01 mm
Delivery:
- Instructions for use
- Wrench
- 4 pcs. vice clamps
- 4 pcs. T-nuts 18 mm
- Test certificate
Hydraulic expansion chuck BT 30 – 14 – 70
Application:
For mounting straight-shank tools acc. DIN 1835 form A+B+E and DIN 6535 form HA+HB+HE (larger than dia. 20 mm only with reduction sleeve).
Note:
l1 = max. clamping depth l2 = max. length adjustment range
Delivery:
With wrench
- All holders are made of forged steel
- Specific, low warpage hardened
- Surface hardened HRC 58~60
- Hardening depth 0,8mm~0,9mm
- Taper angle tolerance < AT 3 according to DIN 2080
- Surface roughness Ra < 0,4 µm
- Tensile strength in the core of min. 800 N/mm? after DIN
- All functional surfaces fine machined
Hydraulic expansion chuck SK 50-25-87 DIN 69871 AD/B in wooden box
Application:
For mounting straight-shank tools acc. DIN 1835 form A+B+E and DIN 6535 form HA+HB+HE (larger than dia. 20 mm only with reduction sleeve).
Note:
l1 = max. clamping depth l2 = max. length adjustment range
Delivery:
With wrench
- All holders are made of forged steel
- Specific, low warpage hardened
- Surface hardened HRC 58~60
- Hardening depth 0,8mm~0,9mm
- Taper angle tolerance < AT 3 according to DIN 2080
- Surface roughness Ra < 0,4 µm
- Tensile strength in the core of min. 800 N/mm? after DIN
- All functional surfaces fine machined


