PART OF CATALOG
Clamping sleeves for taps with quick change DCONMS=32 | 9 x 7
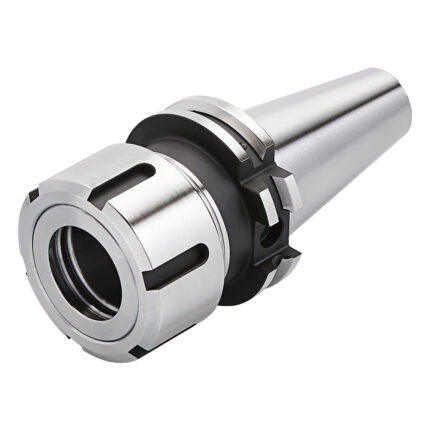
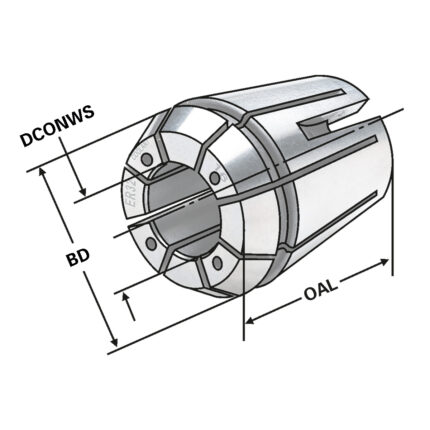
ER-Precision collet ER40 | 472EP | < 5µm | O 14 - 13
Hydraulic expansion chuck BT 40 – 08 – 160
New items, Hydraulic chucks special offer 2023, ISO 7388-2 [MAS 403 BT], Hydraulic expansion chucks slim
End mill holder Weldon BT 50 – 16 – 80
Application:
For mounting straight-shank tools with lateral flat according to DIN 1835 form B (Weldon).
Delivery:
With clamping screw
- All holders are made of forged steel
- Specific, low warpage hardened
- Surface hardened HRC 58~60
- Hardening depth 0,8mm~0,9mm
- Taper angle tolerance < AT 3 according to DIN 2080
- Surface roughness Ra < 0,4 µm
- Tensile strength in the core of min. 800 N/mm? after DIN
- All functional surfaces fine machined
ER-Collet with cooling channel holes ER20 | 428EC | < 15µm | O 5
Milling arbors for screw-in cutters SK 40 – M6 – 69 – LB50
Application:
For mounting screw-in cutters with thread.
- All holders are made of forged steel
- Specific, low warpage hardened
- Surface hardened HRC 58~60
- Hardening depth 0,8mm~0,9mm
- Taper angle tolerance < AT 3 according to DIN 2080
- Surface roughness Ra < 0,4 µm
- Tensile strength in the core of min. 800 N/mm? after DIN
- All functional surfaces fine machined
FREE CONSULTATION


