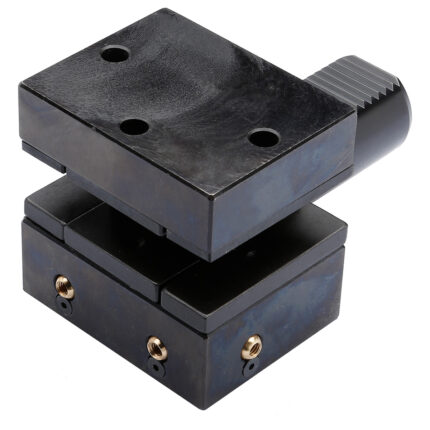
ER-Precision collet ER32 | 470EP | < 5µm | O 17 - 16
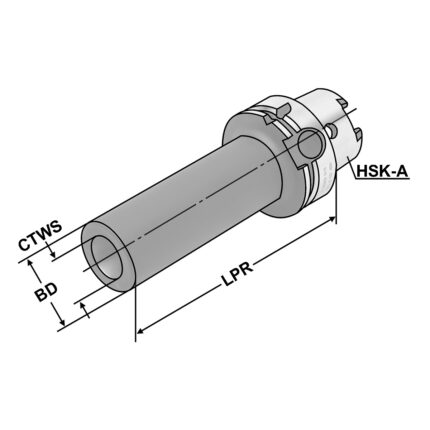
Morse taper adaptor HSK 63 – 3 – 140
Application:
For clamping tools with Morse taper shank and thread according to DIN 228-1 form A.
Delivery:
With built-in tightening bolt
- All holders are made of forged steel
- Specific, low warpage hardened
- Surface hardened HRC 58~60
- Hardening depth 0,8mm~0,9mm
- Taper angle tolerance < AT 3 according to DIN 2080
- Surface roughness Ra < 0,4 µm
- Tensile strength in the core of min. 800 N/mm? after DIN
- All functional surfaces fine machined
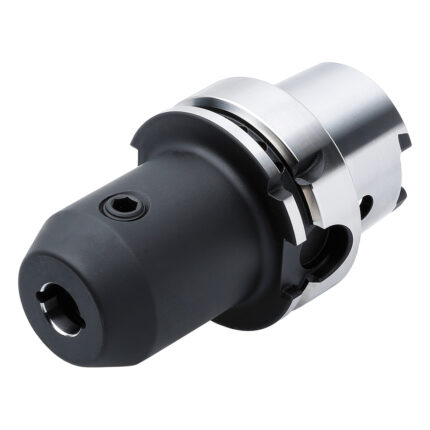
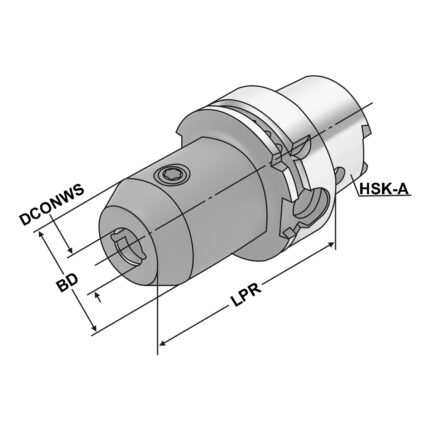
End mill holder Weldon HSK 100 – 14 – 160
Application:
For mounting straight-shank tools with lateral flat according to DIN 1835 form B (Weldon).
Delivery:
With clamping screw
- All holders are made of forged steel
- Specific, low warpage hardened
- Surface hardened HRC 58~60
- Hardening depth 0,8mm~0,9mm
- Taper angle tolerance < AT 3 according to DIN 2080
- Surface roughness Ra < 0,4 µm
- Tensile strength in the core of min. 800 N/mm? after DIN
- All functional surfaces fine machined
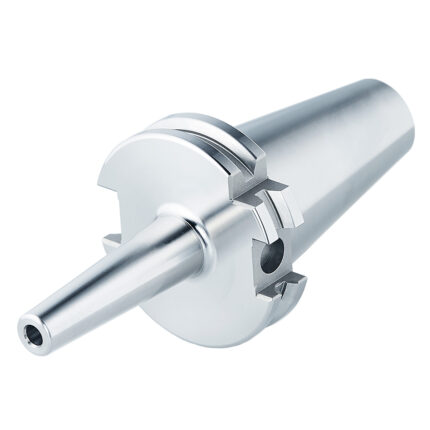
Shrink chuck 3° SK 40 – 10 – 80
Application:
For mounting tools with straight shanks.
Note:
Toolholders suitable for induction-, contact- and hot air shrink units. O 3, 4, 5 with h4-tolerance and O 6 O 32 with h6-tolerance
For O 3, 4 and 5 mm only solid carbide tool shanks must be used!
- All holders are made of forged steel
- Specific, low warpage hardened
- Surface hardened HRC 58~60
- Hardening depth 0,8mm~0,9mm
- Taper angle tolerance < AT 3 according to DIN 2080
- Surface roughness Ra < 0,4 µm
- Tensile strength in the core of min. 800 N/mm? after DIN
- All functional surfaces fine machined
Shell mill holder HSK 63 – 22 – 50
Application:
For mounting milling cutters with transversal groove.
Note:
d = 40/d = 60: For large diameter face mill cutters with four additional threaded holes according to DIN 2079.
SK 30 without coolant exit bores on the end face
Delivery:
With drivers, cross head retaining screw and cylinder head retaining screw for cutters with central coolant. For d = 60 only with four fi xation screws according to DIN 912.
- All holders are made of forged steel
- Specific, low warpage hardened
- Surface hardened HRC 58~60
- Hardening depth 0,8mm~0,9mm
- Taper angle tolerance < AT 3 according to DIN 2080
- Surface roughness Ra < 0,4 µm
- Tensile strength in the core of min. 800 N/mm? after DIN
- All functional surfaces fine machined
Hydraulic expansion chuck HSK 100 – 14 – 95
Application:
For mounting straight-shank tools acc. DIN 1835 form A+B+E and DIN 6535 form HA+HB+HE (larger than dia. 20 mm only with reduction sleeve).
Note:
l1 = max. clamping depth l2 = max. length adjustment range
Delivery:
Without wrench
- All holders are made of forged steel
- Specific, low warpage hardened
- Surface hardened HRC 58~60
- Hardening depth 0,8mm~0,9mm
- Taper angle tolerance < AT 3 according to DIN 2080
- Surface roughness Ra < 0,4 µm
- Tensile strength in the core of min. 800 N/mm? after DIN
- All functional surfaces fine machined
End mill holder Weldon with cooling channels HSK 63 – 14 – 130
Application:
For mounting straight-shank tools with lateral flat according to DIN 1835 form B (Weldon).
Delivery:
With clamping screw and O-ring
- All holders are made of forged steel
- Specific, low warpage hardened
- Surface hardened HRC 58~60
- Hardening depth 0,8mm~0,9mm
- Taper angle tolerance < AT 3 according to DIN 2080
- Surface roughness Ra < 0,4 µm
- Tensile strength in the core of min. 800 N/mm? after DIN
- All functional surfaces fine machined


