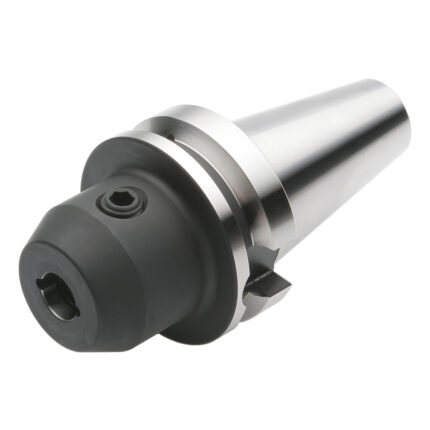
Tapping chucks for synchronisation BT 50 – M3-M20 – 110 | ER 25
Application:
For machining centres with synchronous spindle.
Note:
- Synchro tapping chucks compensate synchronisation errors.
- Minimal length compensation on compression and expansion balances very small pitch differences between synchro spindle and tap, which can cause high frictional forces on the thread flanks.
- A possible increase of axial force during the tapping process is reduced to a minimum.
- Suitable for internal coolant.
- Coolant pressure up to max. 100 bar.
Delivery:
With balanced clamping nut
- All holders are made of forged steel
- Specific, low warpage hardened
- Surface hardened HRC 58~60
- Hardening depth 0,8mm~0,9mm
- Taper angle tolerance < AT 3 according to DIN 2080
- Surface roughness Ra < 0,4 µm
- Tensile strength in the core of min. 800 N/mm? after DIN
- All functional surfaces fine machined
HSS-E spiral flute taps M30 22×18 P=3,5
Application:
- Thread configuration with a special design, prevents overfeeding, thin thread and pitch diameter oversize.
- Flute geometry with special design, better chip evacuation, prevents chip clogging, improves thread quality
- Excellent performance on various work material: Stainless steel, carbon steel, alloyed steel, tool steel
ER-Precision collet ER32 | 470EPP | < 3 µm | O 10,0
Application:
For mounting straight-shank tools in collet chucks ISO 15488 (ex. DIN 6499).
Version:
System concentricity and repetition accuracy 3 µm (3?D, maximum = 50 mm), in conjunction with KEMMLER Precision collet chuck ER".
Suitable for:
KEMMLER Precision collet chuck ER or standard collet chuck Spannfutter ISO 15488 (ex. DIN 6499).
Note:
The collet clamping O range is always up to 0.5 mm less than nominal.
End mill holder Weldon with cooling channels BT 40 – 32 – 100
Application:
For mounting straight-shank tools with lateral flat according to DIN 1835 form B (Weldon).
Delivery:
With clamping screw and O-ring
- All holders are made of forged steel
- Specific, low warpage hardened
- Surface hardened HRC 58~60
- Hardening depth 0,8mm~0,9mm
- Taper angle tolerance < AT 3 according to DIN 2080
- Surface roughness Ra < 0,4 µm
- Tensile strength in the core of min. 800 N/mm? after DIN
- All functional surfaces fine machined
Clamping sleeves for taps with quick change DCONMS=16 | 4,5 x 3,4
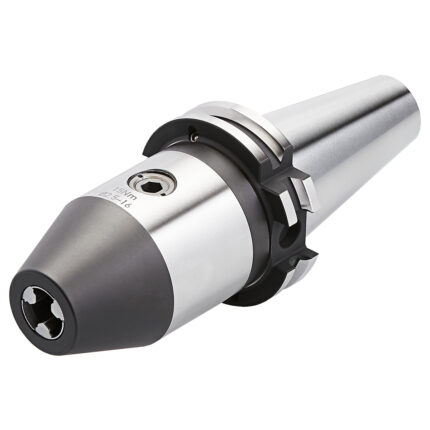
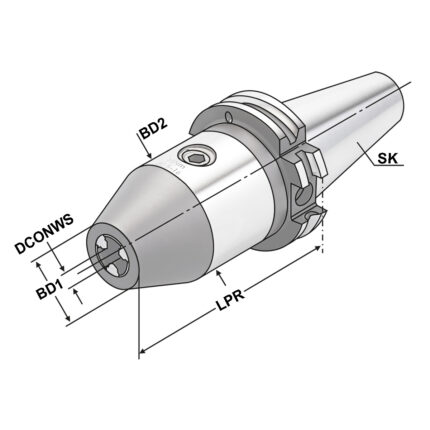
CNC-Drill chuck SK 40 – 1/13 – 90
Application:
For mounting tools with straight shanks.
Delivery:
With wrench
- All holders are made of forged steel
- Specific, low warpage hardened
- Surface hardened HRC 58~60
- Hardening depth 0,8mm~0,9mm
- Taper angle tolerance < AT 3 according to DIN 2080
- Surface roughness Ra < 0,4 µm
- Tensile strength in the core of min. 800 N/mm? after DIN
- All functional surfaces fine machined


