PART OF CATALOG

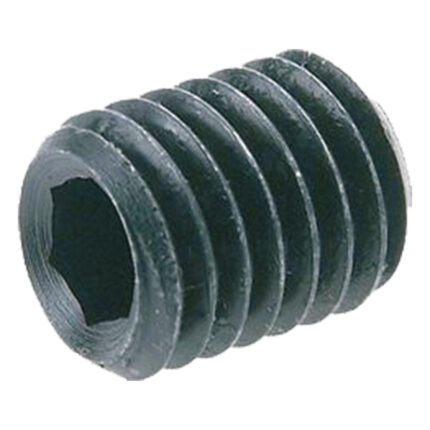
Sealing disc | ER 32 DCONWS = 11,5

19.00

Application:
For sealing tools with internal cooling.


Note:
Sealing capacity up to 80 bar


Clamping range 0.5 mm (+0.1/?0.4)

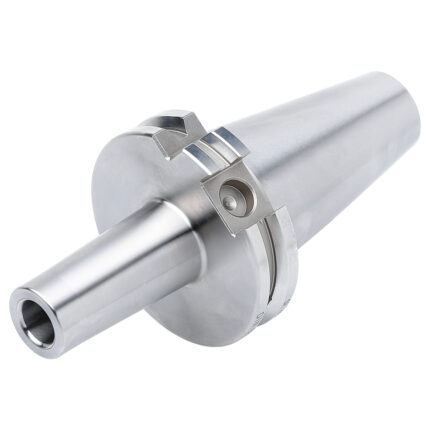
Shrink chuck 3° BT 40 – 04 – 120

159.00

Application:
For mounting tools with straight shanks.


Note:
Toolholders suitable for induction-, contact- and hot air shrink units. O 3, 4, 5 with h4-tolerance and O 6 – O 32 with h6-tolerance


For O 3, 4 and 5 mm only solid carbide tool shanks must be used!
  • All holders are made of forged steel
  • Specific, low warpage hardened
  • Surface hardened HRC 58~60
  • Hardening depth 0,8mm~0,9mm
  • Taper angle tolerance < AT 3 according to DIN 2080
  • Surface roughness Ra < 0,4 µm
  • Tensile strength in the core of min. 800 N/mm? after DIN
  • All functional surfaces fine machined


Hydraulic expansion chuck SK 40 – 08 – 110

308.00

Application:
For mounting straight-shank tools acc. DIN 1835 form A+B+E and DIN 6535 form HA+HB+HE (larger than dia. 20 mm only with reduction sleeve).


Note:
l1 = max. clamping depth l2 = max. length adjustment range


Delivery:
Without wrench


  • All holders are made of forged steel
  • Specific, low warpage hardened
  • Surface hardened HRC 58~60
  • Hardening depth 0,8mm~0,9mm
  • Taper angle tolerance < AT 3 according to DIN 2080
  • Surface roughness Ra < 0,4 µm
  • Tensile strength in the core of min. 800 N/mm? after DIN
  • All functional surfaces fine machined


Shrink chuck 4,5° BT 40 – 25 – 100

140.00

Application:
For mounting tools with straight shanks.


Note:
Toolholders suitable for induction-, contact- and hot air shrink units. O 3, 4, 5 with h4-tolerance and O 6 – O 32 with h6-tolerance


For O 3, 4 and 5 mm only solid carbide tool shanks must be used!


  • All holders are made of forged steel
  • Specific, low warpage hardened
  • Surface hardened HRC 58~60
  • Hardening depth 0,8mm~0,9mm
  • Taper angle tolerance < AT 3 according to DIN 2080
  • Surface roughness Ra < 0,4 µm
  • Tensile strength in the core of min. 800 N/mm? after DIN
  • All functional surfaces fine machined

OZ-Collet OZ32 | 467E | < 15µm | O 20 - 19,5

24.00

Application:
For mounting straight-shank tools in collet chucks DIN 6391. For highest axial and radial loading.

Claw jaws set (Pair) for ATW-40 / ATD-460

225.00

Version:
Jaws with grip serrations und fine step for workpieces with max. edge radius 1 mm, clamping depth 2 mm

  • For use on vises
  • Simple, safe clamping of parallel raw and sawn parts
  • Hydraulic or manual clamping
  • Positive clamping due to penetration of the hardened claw tips
  • High holding forces: increase by a factor of 3 to 5 compared to standard jaws
  • Low material loss
  • Shortened processing times and reduction of production and unit costs

Hydraulic expansion chuck BT 40 – 16 – 90

372.00

Application:
For mounting straight-shank tools acc. DIN 1835 form A+B+E and DIN 6535 form HA+HB+HE (larger than dia. 20 mm only with reduction sleeve).


Note:
l1 = max. clamping depth l2 = max. length adjustment range


Delivery:
With wrench


  • All holders are made of forged steel
  • Specific, low warpage hardened
  • Surface hardened HRC 58~60
  • Hardening depth 0,8mm~0,9mm
  • Taper angle tolerance < AT 3 according to DIN 2080
  • Surface roughness Ra < 0,4 µm
  • Tensile strength in the core of min. 800 N/mm? after DIN
  • All functional surfaces fine machined


FREE CONSULTATION

Have questions?
Leave a request