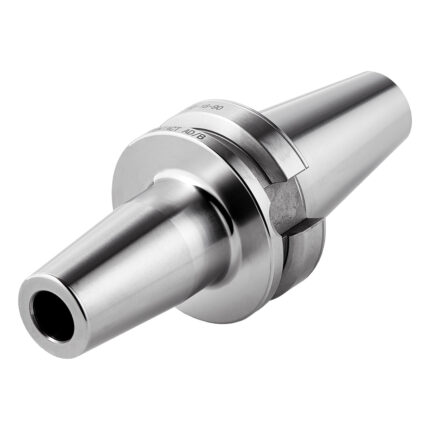
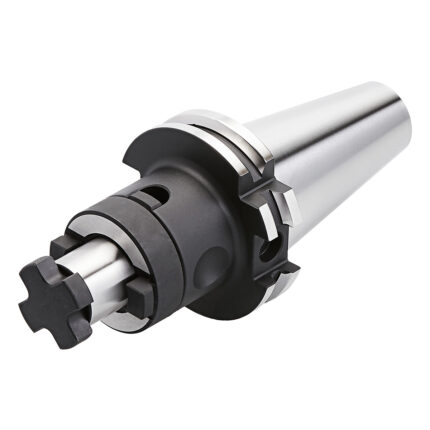
Shrink chuck 4,5° BT 50 – 12 – 200
Application:
For mounting tools with straight shanks.
Note:
Toolholders suitable for induction-, contact- and hot air shrink units. O 3, 4, 5 with h4-tolerance and O 6 O 32 with h6-tolerance
For O 3, 4 and 5 mm only solid carbide tool shanks must be used!
- All holders are made of forged steel
- Specific, low warpage hardened
- Surface hardened HRC 58~60
- Hardening depth 0,8mm~0,9mm
- Taper angle tolerance < AT 3 according to DIN 2080
- Surface roughness Ra < 0,4 µm
- Tensile strength in the core of min. 800 N/mm? after DIN
- All functional surfaces fine machined
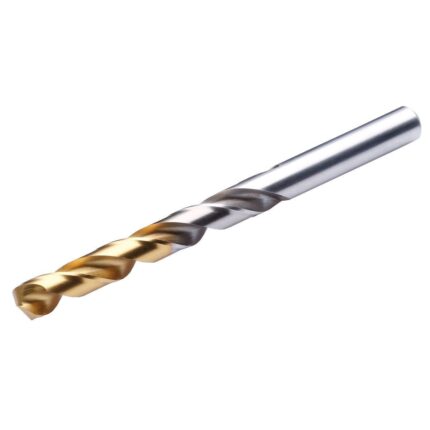
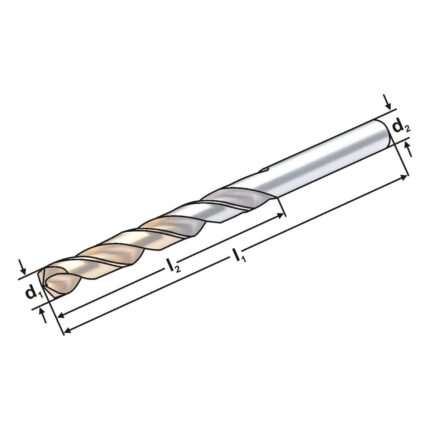
HSSE twist drill 135° 3,7 mm DIN 338 | TIN coating
3 point internal micrometer | digital 200-225mm | IP65 | reading 0,001mm
Construction:
- Graduation: 0.001mm
- Measuring contact points are designed to allow measurements near to the bottom of blind holes
- reading parts brushed chromium-plated
- Measuring surfaces are carbide
- Ratchet stop
Delivery:
- Extension
- Warranty card
- Instruction manual
- Calibration certificate
- LR44 1,5V Battery
Setting ring not included in delivery - optionally available
ER-Collet chuck SK 30 – 1/10 – 100 | ER 16 | Mini
Application:
For mounting straight-shank tools in collets.
Delivery:
With ER-Mini-nut
- All holders are made of forged steel
- Specific, low warpage hardened
- Surface hardened HRC 58~60
- Hardening depth 0,8mm~0,9mm
- Taper angle tolerance < AT 3 according to DIN 2080
- Surface roughness Ra < 0,4 µm
- Tensile strength in the core of min. 800 N/mm? after DIN
- All functional surfaces fine machined
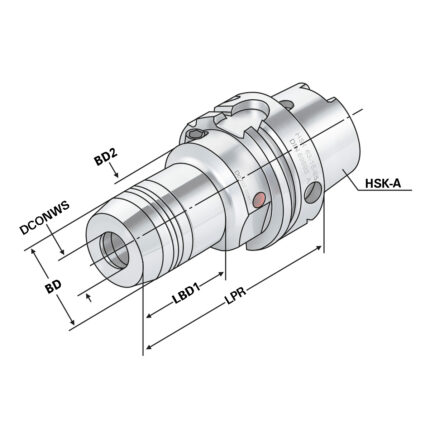
Hydraulic expansion chuck HSK 32 – 16 – 100
Application:
For mounting straight-shank tools acc. DIN 1835 form A+B+E and DIN 6535 form HA+HB+HE (larger than dia. 20 mm only with reduction sleeve).
Delivery:
Without wrench
- All holders are made of forged steel
- Specific, low warpage hardened
- Surface hardened HRC 58~60
- Hardening depth 0,8mm~0,9mm
- Surface roughness Ra < 0,4 µm
- Tensile strength in the core of min. 800 N/mm? after DIN
- All functional surfaces fine machined
Shrink chuck 4,5° BT 30 – 04 – 80
Application:
For mounting tools with straight shanks.
Note:
Toolholders suitable for induction-, contact- and hot air shrink units. O 3, 4, 5 with h4-tolerance and O 6 O 32 with h6-tolerance
For O 3, 4 and 5 mm only solid carbide tool shanks must be used!
- All holders are made of forged steel
- Specific, low warpage hardened
- Surface hardened HRC 58~60
- Hardening depth 0,8mm~0,9mm
- Taper angle tolerance < AT 3 according to DIN 2080
- Surface roughness Ra < 0,4 µm
- Tensile strength in the core of min. 800 N/mm? after DIN
- All functional surfaces fine machined
Combi shell mill holder SK 50 – 32 – 160
Application:
For mounting milling cutters with transverse or longitudinal groove.
Delivery:
With retaining screw, driving ring and feather key
- All holders are made of forged steel
- Specific, low warpage hardened
- Surface hardened HRC 58~60
- Hardening depth 0,8mm~0,9mm
- Taper angle tolerance < AT 3 according to DIN 2080
- Surface roughness Ra < 0,4 µm
- Tensile strength in the core of min. 800 N/mm? after DIN
- All functional surfaces fine machined


