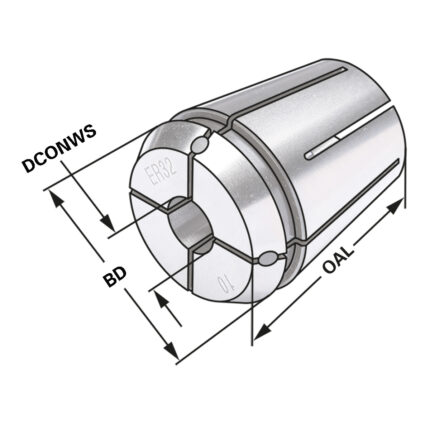
PART OF CATALOG

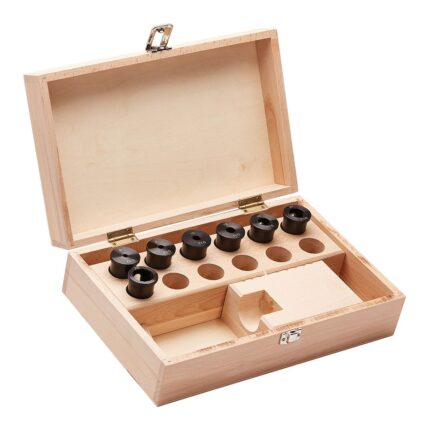
Ring gauge | 11mm ring gauge-accuracy DIN 2250

49.00

Note:
Construction: Hardened steel


Ring gauge accuracy according to DIN 2250

Delivery:
Calibration certificate

HSS-E spiral flute taps fine thread M10 7×5,5 P=0,75 DIN 374

27.00

Application:

  1. Thread configuration with a special design, prevents overfeeding, thin thread and pitch diameter oversize.
  2. Flute geometry with special design, better chip evacuation, prevents chip clogging, improves thread quality
  3. Excellent performance on various work material: Stainless steel, carbon steel, alloyed steel, tool steel

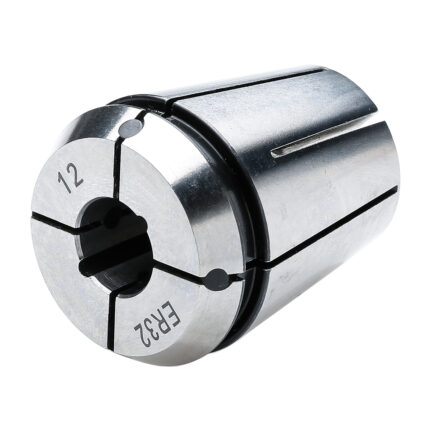
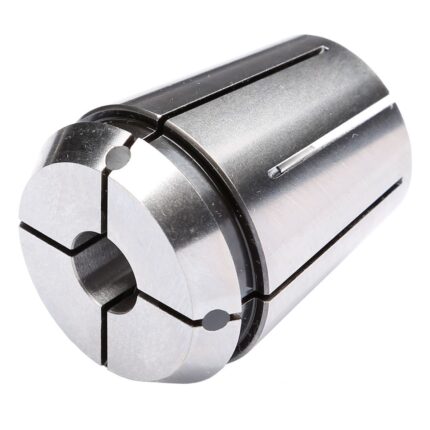
Clamping sleeves for taps with quick change DCONMS=32 | 12 x 9

60.00

Application:
For machines with rigid tapping. For safe clamping of taps in end mill holders according to DIN 1835 B.

End mill holder Weldon HSK 50 – 08 – 65

115.00

Application:
For mounting straight-shank tools with lateral flat according to DIN 1835 form B (Weldon).


Delivery:
With clamping screw


  • All holders are made of forged steel
  • Specific, low warpage hardened
  • Surface hardened HRC 58~60
  • Hardening depth 0,8mm~0,9mm
  • Taper angle tolerance < AT 3 according to DIN 2080
  • Surface roughness Ra < 0,4 µm
  • Tensile strength in the core of min. 800 N/mm? after DIN
  • All functional surfaces fine machined

Thread plug gauge M2 | 6H ISO-metric thread | DIN 13

35.00

Construction:

  • Hardened steel
  • ISO-Metric Thread
  • DIN 13
  • 6H

Delivery:
Calibration certificate

Precision bevelled edge | 150 x 100 mm Squareness 00

49.00

Construction:

  • Made of precision ground hardened stainless steel
  • Accuracy according to DIN 875


Shrink chuck 4,5° with cooling channels BT 50 – 16 – 100

249.00

Application:
For mounting tools with straight shanks.


Note:
Toolholders suitable for induction-, contact- and hot air shrink units. O 3, 4, 5 with h4-tolerance and O 6 – O 32 with h6-tolerance


For O 3, 4 and 5 mm only solid carbide tool shanks must be used!


  • All holders are made of forged steel
  • Specific, low warpage hardened
  • Surface hardened HRC 58~60
  • Hardening depth 0,8mm~0,9mm
  • Taper angle tolerance < AT 3 according to DIN 2080
  • Surface roughness Ra < 0,4 µm
  • Tensile strength in the core of min. 800 N/mm? after DIN
  • All functional surfaces fine machined
FREE CONSULTATION

Have questions?
Leave a request