PART OF CATALOG
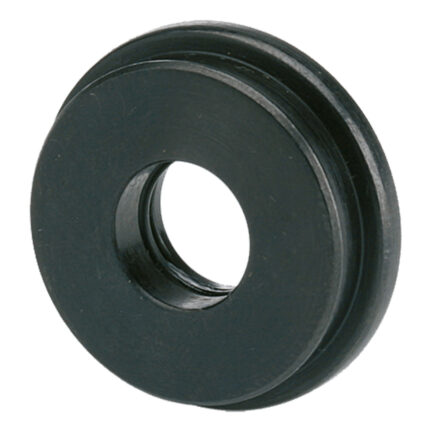
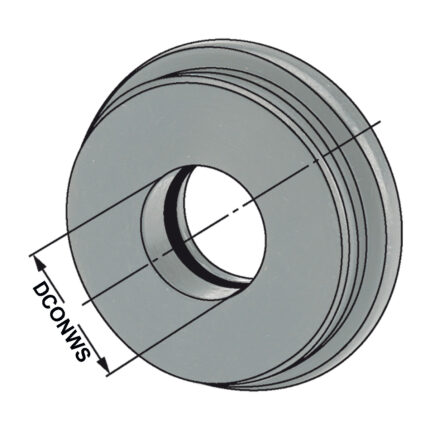
Sealing disc | ER 25 DCONWS = 3,0
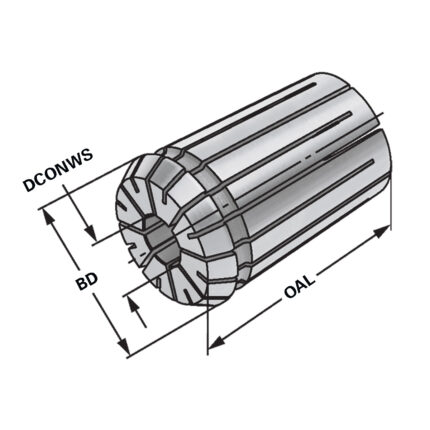
OZ-Collet OZ25 | 462E | < 15µm | O 20 - 19,5
Ring gauge | 21mm ring gauge-accuracy DIN 2250
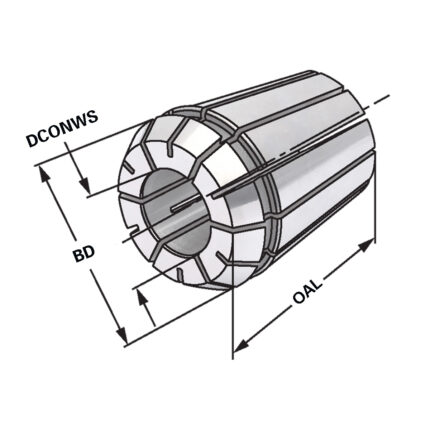
ER-Precision collet ER32 | 470EP | < 5µm | O 14 - 13
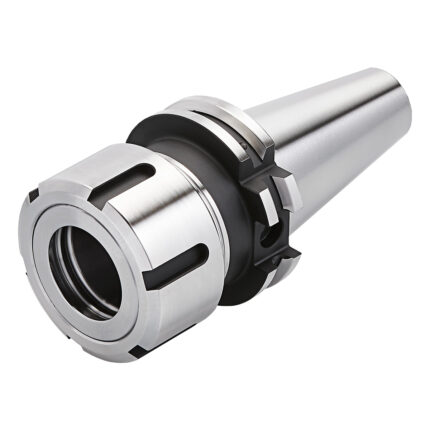
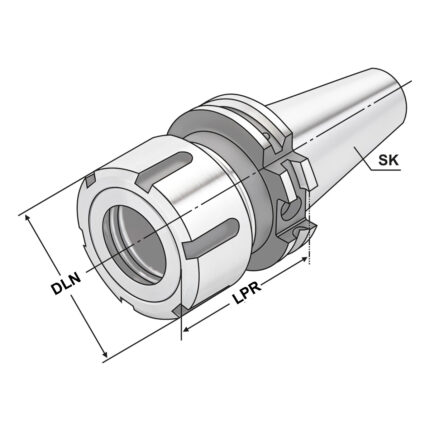
OZ-Collet chuck SK 40 – 3/32 – 90 | OZ 32
Application:
For mounting straight-shank tools in collets.
Delivery:
With ball bearing clamping nut
- All holders are made of forged steel
- Specific, low warpage hardened
- Surface hardened HRC 58~60
- Hardening depth 0,8mm~0,9mm
- Taper angle tolerance < AT 3 according to DIN 2080
- Surface roughness Ra < 0,4 µm
- Tensile strength in the core of min. 800 N/mm? after DIN
- All functional surfaces fine machined
ER-Precision collet ER32 | 470EP | < 5µm | O 12 - 11
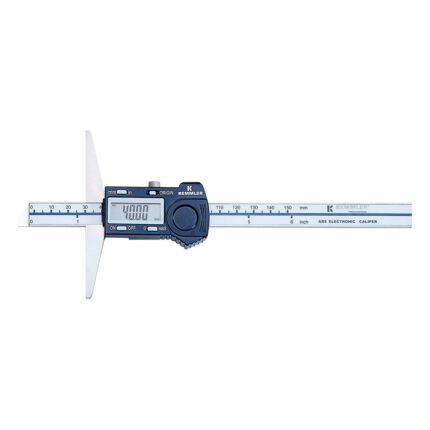
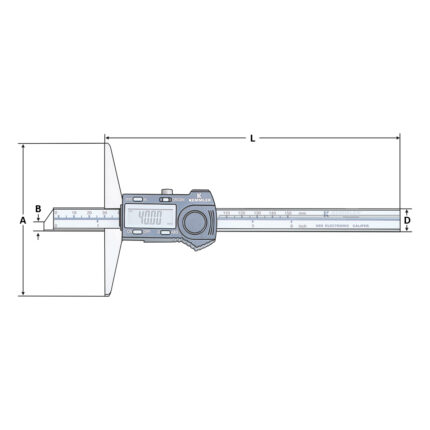
Depth caliper digital 0-300mm with data output
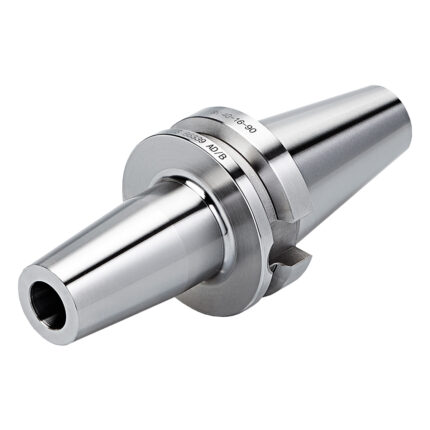
Shrink chuck 4,5° BT 40 – 16 – 120
Application:
For mounting tools with straight shanks.
Note:
Toolholders suitable for induction-, contact- and hot air shrink units. O 3, 4, 5 with h4-tolerance and O 6 O 32 with h6-tolerance
For O 3, 4 and 5 mm only solid carbide tool shanks must be used!
- All holders are made of forged steel
- Specific, low warpage hardened
- Surface hardened HRC 58~60
- Hardening depth 0,8mm~0,9mm
- Taper angle tolerance < AT 3 according to DIN 2080
- Surface roughness Ra < 0,4 µm
- Tensile strength in the core of min. 800 N/mm? after DIN
- All functional surfaces fine machined
FREE CONSULTATION


