PART OF CATALOG
End mill holder Whistle-Notch HSK 100 – 08 – 90
Application:
For mounting straight-shank tools and inclined flat according to DIN 1835 form E (Whistle Notch).
Delivery:
With clamping screw and axial adjustment bolt
- All holders are made of forged steel
- Specific, low warpage hardened
- Surface hardened HRC 58~60
- Hardening depth 0,8mm~0,9mm
- Taper angle tolerance < AT 3 according to DIN 2080
- Surface roughness Ra < 0,4 µm
- Tensile strength in the core of min. 800 N/mm? after DIN
- All functional surfaces fine machined
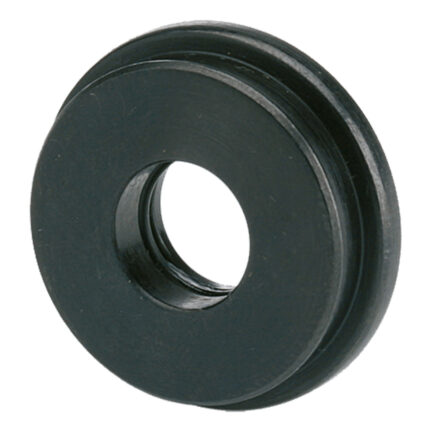
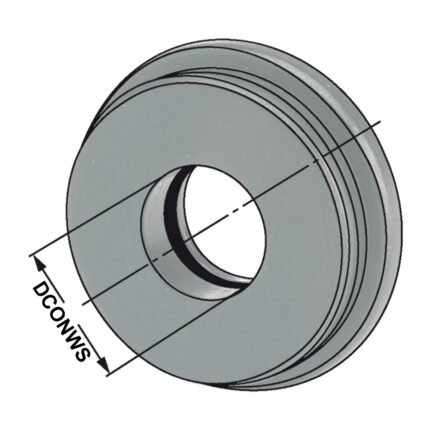
Sealing disc | ER 25 DCONWS = 7,0
Sealing disc | ER 32 DCONWS = 8,0
Shrink chuck 4,5° PSK 50 – 12 – 75
Application:
For mounting tools with straight shanks.
Note:
Toolholders suitable for induction-, contact- and hot air shrink units. O 6 O 32 with h6-tolerance
For O 3, 4 and 5 mm only solid carbide tool shanks must be used!
- All holders are made of forged steel
- Specific, low warpage hardened
- Surface hardened HRC 58~60
- Hardening depth 0,8mm~0,9mm
- Taper angle tolerance < AT 3 according to DIN 2080
- Surface roughness Ra < 0,4 µm
- Tensile strength in the core of min. 800 N/mm? after DIN
- All functional surfaces fine machined
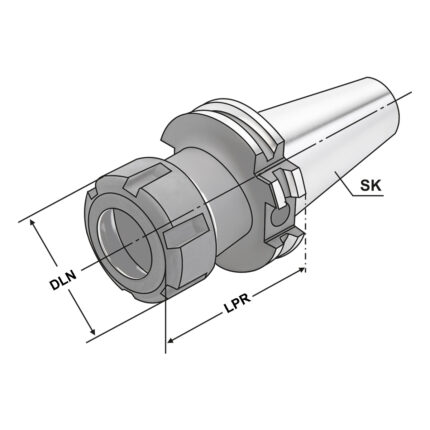
ER-Collet chuck SK 30 – 2/20 – 70 | ER 32
Application:
For mounting straight-shank tools in collets.
Delivery:
With balanced clamping nut
- All holders are made of forged steel
- Specific, low warpage hardened
- Surface hardened HRC 58~60
- Hardening depth 0,8mm~0,9mm
- Taper angle tolerance < AT 3 according to DIN 2080
- Surface roughness Ra < 0,4 µm
- Tensile strength in the core of min. 800 N/mm? after DIN
- All functional surfaces fine machined
Reduction sleeves for hydraulic expansion chucks DCONMS=32 | DCONWS=4
with coolant channels along the boring, 32mm, Accessories, Accessories for hydraulic chucks, Reducing b. for hydraulic chucks
Ring gauge | 25mm ring gauge-accuracy DIN 2250
Coolant tube HSK 100
Application:
For the coolant supply through the centre of HSK toolholders.
Note:
Axial sealed with two O-rings. After mounting, the coolant tube can be moved only to a minimum degree according to DIN (±1°).
- All holders are made of forged steel
- Specific, low warpage hardened
- Surface hardened HRC 58~60
- Hardening depth 0,8mm~0,9mm
- Taper angle tolerance < AT 3 according to DIN 2080
- Surface roughness Ra < 0,4 µm
- Tensile strength in the core of min. 800 N/mm? after DIN
- All functional surfaces fine machined
FREE CONSULTATION


