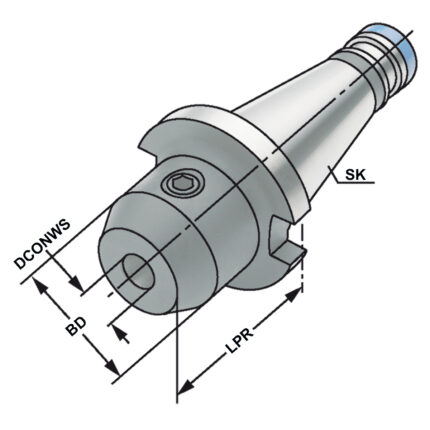
PART OF CATALOG

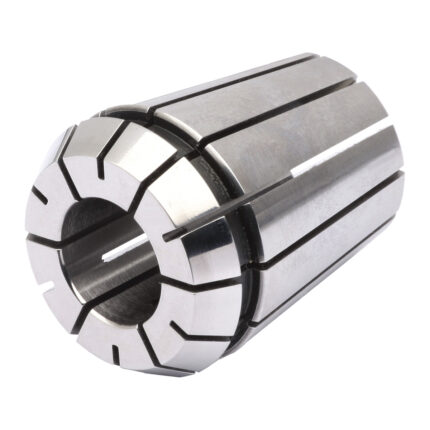
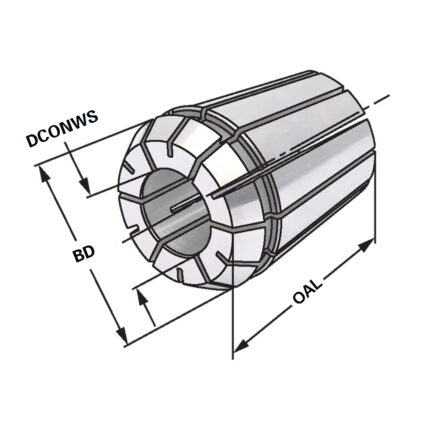
ER-Spannzange mit Kuhlkanalen ER20 | 428ECC | < 15µm | O 5

42.00

Application:
For mounting straight-shank tools in collet chucks DIN 6499.


Note:
Only nominal size d can be clamped, with cooling channels. In order to achieve an optimum sealing the tool must be clamped on the complete length of the ground drill of the collet. (applicable up to 21 bar)

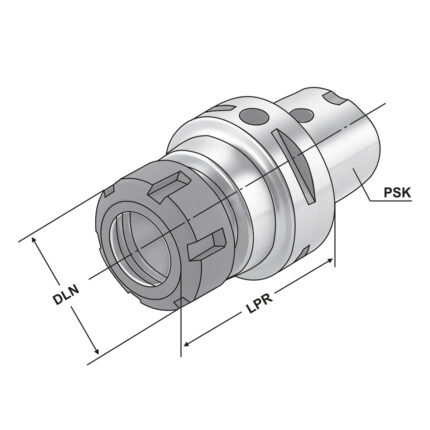
Hydraulic expansion chuck HSK 100-25-115 DIN 69893 (ISO 12164) Form A in wooden box

906.00

Application:
For mounting straight-shank tools acc. DIN 1835 form A+B+E and DIN 6535 form HA+HB+HE (larger than dia. 20 mm only with reduction sleeve).


Note:
l1 = max. clamping depth
l2 = max. length adjustment range


Delivery:
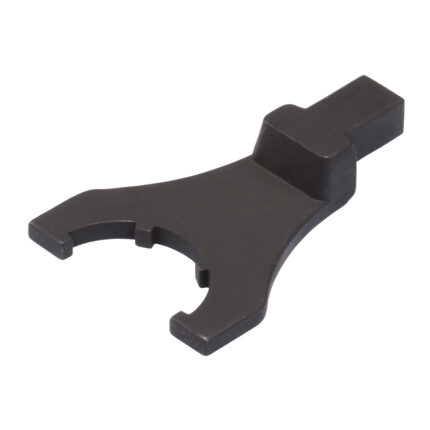
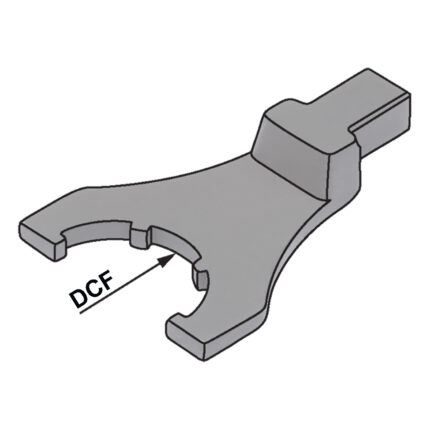
Without wrench


  • All holders are made of forged steel
  • Specific, low warpage hardened
  • Surface hardened HRC 58~60
  • Hardening depth 0,8mm~0,9mm
  • Taper angle tolerance < AT 3 according to DIN 2080
  • Surface roughness Ra < 0,4 µm
  • Tensile strength in the core of min. 800 N/mm? after DIN
  • All functional surfaces fine machined


Clamping sleeves for taps DCONMS=10 | 4,5 x 3,4

46.00

Application:
For machines with rigid tapping. For safe clamping of taps in end mill holders according to DIN 1835 B.

Precision vice AVL-125G/HV mechanical

1,275.00

Construction:

  • Clamping positions: horizontal, vertical and lateral
  • The steel body is hardened and grinded all-round
  • Integrated pull-down mechanism
  • Bed height H: 0,01 mm

Delivery:

  • Instructions for use
  • Wrench
  • 4 pcs. vice clamps
  • 4 pcs. T-nuts 18 mm
  • Test certificate

Tapping chucks for synchronisation SK 40 – M3-M12 – 79 | ER 16

383.00

Application:
For machining centres with synchronous spindle.


Note:

  • Synchro tapping chucks compensate synchronisation errors.
  • Minimal length compensation on compression and expansion balances very small pitch differences between synchro spindle and tap, which can cause high frictional forces on the thread flanks.
  • A possible increase of axial force during the tapping process is reduced to a minimum.
  • Suitable for internal coolant.
  • Coolant pressure up to max. 100 bar.

With balanced clamping nut


  • All holders are made of forged steel
  • Specific, low warpage hardened
  • Surface hardened HRC 58~60
  • Hardening depth 0,8mm~0,9mm
  • Taper angle tolerance < AT 3 according to DIN 2080
  • Surface roughness Ra < 0,4 µm
  • Tensile strength in the core of min. 800 N/mm? after DIN
  • All functional surfaces fine machined

Shrink chuck 4,5° SK 30 – 20 – 100

126.00

Application:
For mounting tools with straight shanks.


Note:
Toolholders suitable for induction-, contact- and hot air shrink units. O 3, 4, 5 with h4-tolerance and O 6 – O 32 with h6-tolerance


For O 3, 4 and 5 mm only solid carbide tool shanks must be used!
  • All holders are made of forged steel
  • Specific, low warpage hardened
  • Surface hardened HRC 58~60
  • Hardening depth 0,8mm~0,9mm
  • Taper angle tolerance < AT 3 according to DIN 2080
  • Surface roughness Ra < 0,4 µm
  • Tensile strength in the core of min. 800 N/mm? after DIN
  • All functional surfaces fine machined


ER-Spannzange mit Kuhlkanalen ER25 | 430ECC | < 15µm | O 13

44.00

Application:
For mounting straight-shank tools in collet chucks DIN 6499.


Note:
Only nominal size d can be clamped, with cooling channels. In order to achieve an optimum sealing the tool must be clamped on the complete length of the ground drill of the collet. (applicable up to 21 bar)

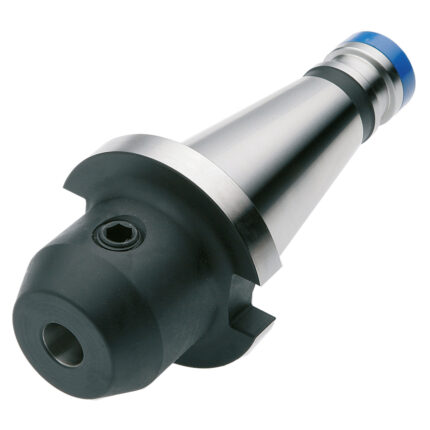
Shell mill holder SK 50 – 32 – 40

87.00

Application:
For mounting milling cutters with transversal groove.


Note:
d = 40/d = 60: For large diameter face mill cutters with four additional threaded holes according to DIN 2079.


SK 30 without coolant exit bores on the end face

Delivery:
With drivers, cross head retaining screw and cylinder head retaining screw for cutters with central coolant. For d = 60 only with four fi xation screws according to DIN 912.


  • All holders are made of forged steel
  • Specific, low warpage hardened
  • Surface hardened HRC 58~60
  • Hardening depth 0,8mm~0,9mm
  • Taper angle tolerance < AT 3 according to DIN 2080
  • Surface roughness Ra < 0,4 µm
  • Tensile strength in the core of min. 800 N/mm? after DIN
  • All functional surfaces fine machined


FREE CONSULTATION

Have questions?
Leave a request