PART OF CATALOG

Clamping sleeves for taps DCONMS=32 | 16 x 12

47.00

Application:
For machines with rigid tapping. For safe clamping of taps in end mill holders according to DIN 1835 B.

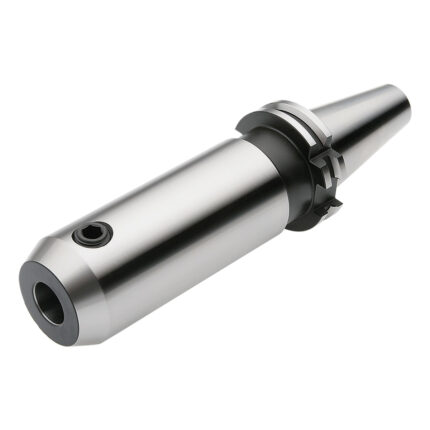
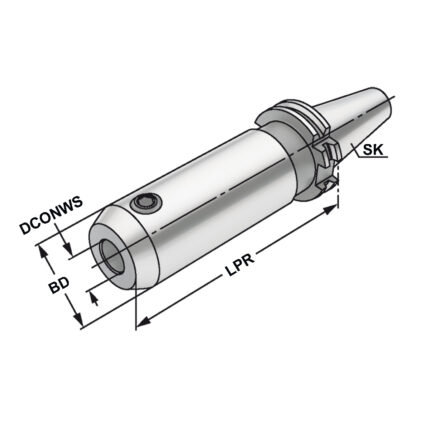
Shrink chuck 4,5° SK 40 – 16 – 160

182.00

Application:
For mounting tools with straight shanks.


Note:
Toolholders suitable for induction-, contact- and hot air shrink units. O 3, 4, 5 with h4-tolerance and O 6 – O 32 with h6-tolerance9


For O 3, 4 and 5 mm only solid carbide tool shanks must be used!
  • All holders are made of forged steel
  • Specific, low warpage hardened
  • Surface hardened HRC 58~60
  • Hardening depth 0,8mm~0,9mm
  • Taper angle tolerance < AT 3 according to DIN 2080
  • Surface roughness Ra < 0,4 µm
  • Tensile strength in the core of min. 800 N/mm? after DIN
  • All functional surfaces fine machined


Tapping chucks for synchronisation BT 40 – M3-M20 – 89 | ER 25

393.00

Application:
For machining centres with synchronous spindle.


Note:
Synchro tapping chucks compensate synchronisation errors.Minimal length compensation on compression and expansion balances very small pitch differences between synchro spindle and tap, which can cause high frictional forces on the thread flanks.A possible increase of axial force during the tapping process is reduced to a minimum.Suitable for internal coolant.Coolant pressure up to max. 100 bar.


Delivery:
With balanced clamping nut


  • All holders are made of forged steel
  • Specific, low warpage hardened
  • Surface hardened HRC 58~60
  • Hardening depth 0,8mm~0,9mm
  • Taper angle tolerance < AT 3 according to DIN 2080
  • Surface roughness Ra < 0,4 µm
  • Tensile strength in the core of min. 800 N/mm? after DIN
  • All functional surfaces fine machined


Morse taper adaptor SK 40 – 1 – 50

38.00

Application:
For mounting tools with Morse taper shank and tang according to DIN 228-1 form B.


Delivery:


  • All holders are made of forged steel
  • Specific, low warpage hardened
  • Surface hardened HRC 58~60
  • Hardening depth 0,8mm~0,9mm
  • Taper angle tolerance < AT 3 according to DIN 2080
  • Surface roughness Ra < 0,4 µm
  • Tensile strength in the core of min. 800 N/mm? after DIN
  • All functional surfaces fine machined


FREE CONSULTATION

Have questions?
Leave a request