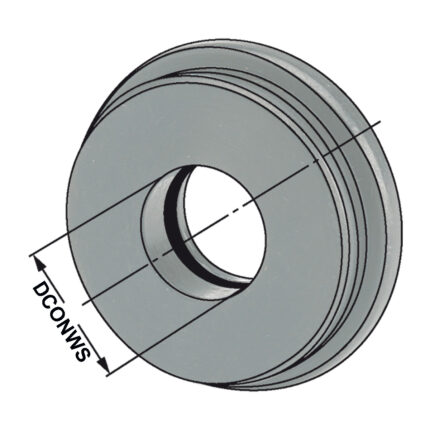
Morse taper adaptor – form F1 F1 – 16 – MK1
HSS-E spiral flute taps fine thread M10 7×5,5 P=1 DIN 374
Application:
1. Thread configuration with a special design, prevents overfeeding, thin thread and pitch diameter oversize.
2. Flute geometry with special design, better chip evacuation, prevents chip clogging, improves thread quality
3. Excellent performance on various work material: Stainless steel, carbon steel, alloyed steel, tool steel
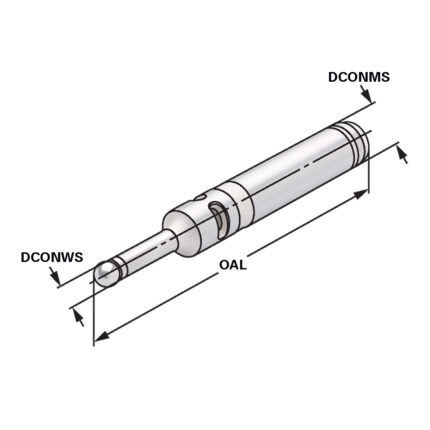
Kantentaster elektronisch 20 – 160 – 10
Application:
Alignment of component reference surfaces or edges. Determination of bore centres to the machine spindle.
Note:
Spring mounted spherical tip protects the unit from damage if contact is too strong. Functional parts hardened and ground. Concentricity: ± 0.01 mm.
Function:
When contact between the spherical tip and metal component occurs, the control lamp lights up = identification of the reference point.
Delivery:
CR2032 3,0V Battery
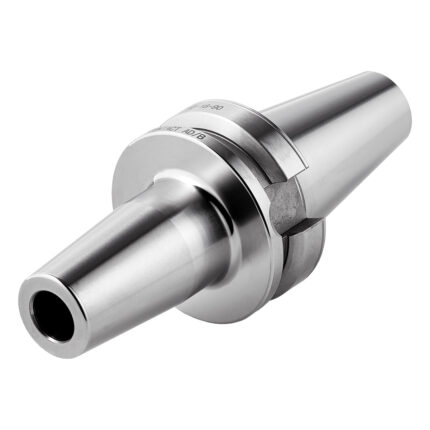
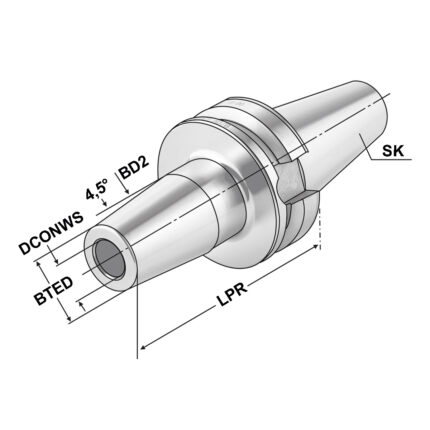
Shrink chuck 4,5° SK 40 – 25 – 100
Application:
For mounting tools with straight shanks.
Note:
Toolholders suitable for induction-, contact- and hot air shrink units. O 3, 4, 5 with h4-tolerance and O 6 O 32 with h6-tolerance
For O 3, 4 and 5 mm only solid carbide tool shanks must be used!
- All holders are made of forged steel
- Specific, low warpage hardened
- Surface hardened HRC 58~60
- Hardening depth 0,8mm~0,9mm
- Taper angle tolerance < AT 3 according to DIN 2080
- Surface roughness Ra < 0,4 µm
- Tensile strength in the core of min. 800 N/mm? after DIN
- All functional surfaces fine machined
Shrink chuck 4,5° BT 40 – 25 – 100
Application:
For mounting tools with straight shanks.
Note:
Toolholders suitable for induction-, contact- and hot air shrink units. O 3, 4, 5 with h4-tolerance and O 6 O 32 with h6-tolerance
For O 3, 4 and 5 mm only solid carbide tool shanks must be used!
- All holders are made of forged steel
- Specific, low warpage hardened
- Surface hardened HRC 58~60
- Hardening depth 0,8mm~0,9mm
- Taper angle tolerance < AT 3 according to DIN 2080
- Surface roughness Ra < 0,4 µm
- Tensile strength in the core of min. 800 N/mm? after DIN
- All functional surfaces fine machined


