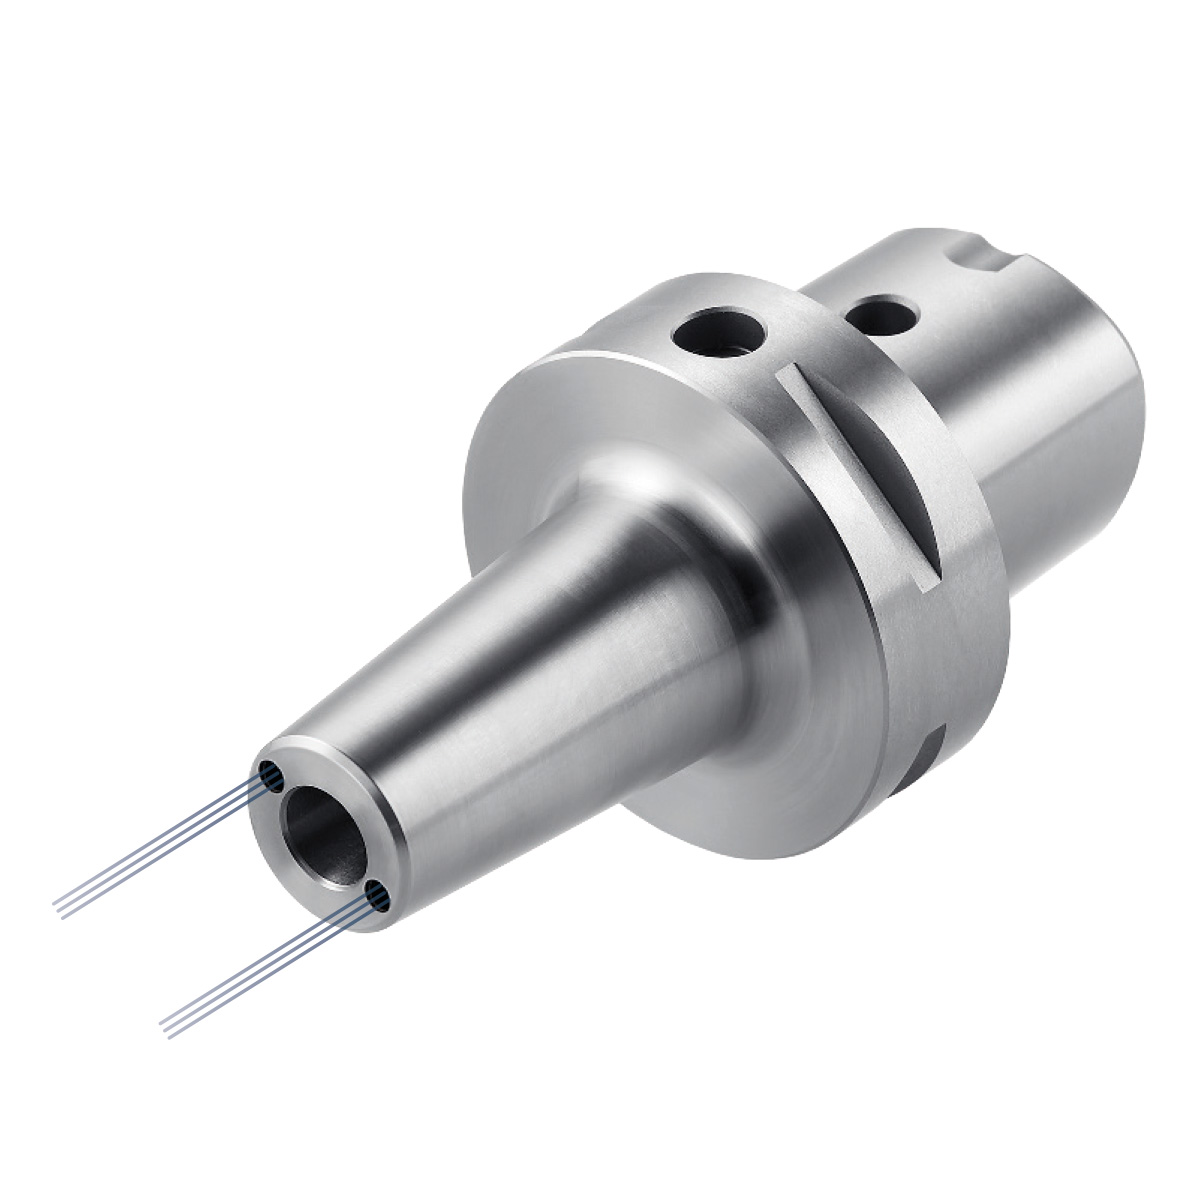
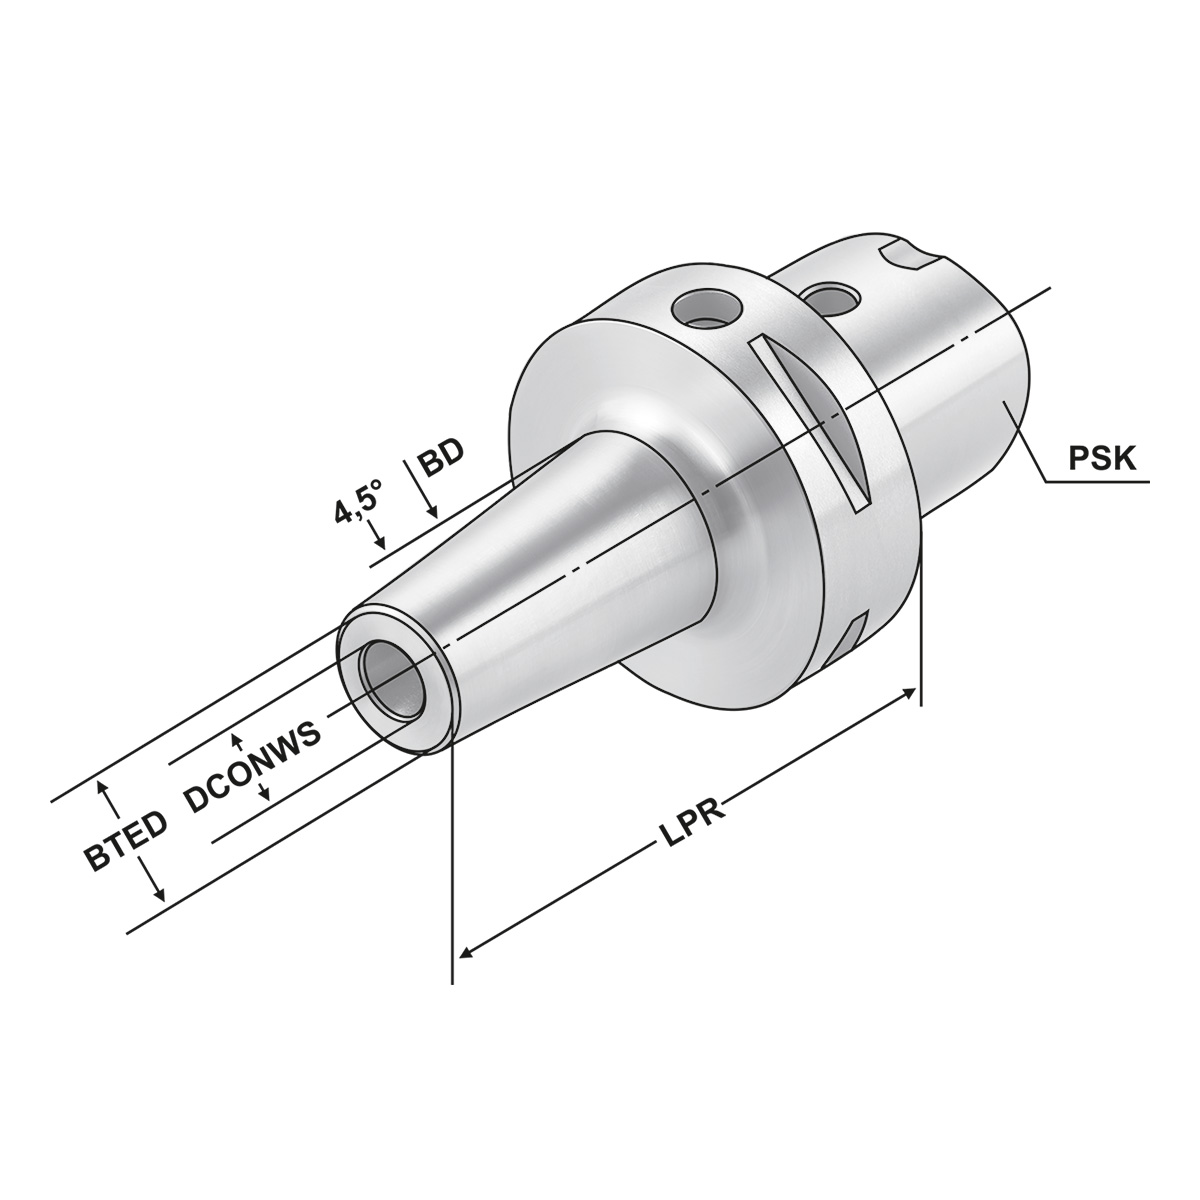
Product information “Shrink chuck 4,5° PSK 63 – 12 – 80”
Shrink chuck 4,5° PSK 63 – 12 – 80
€378.00
| ADINTMS |
CCS – Polygonschaftkegel |
|---|---|
| ADINTWS |
Schrumpffutter 4,5° |
| ADJRGA | |
| Auswuchtgüte |
25.000 1/min, G2,5 |
| BD | |
| BTED | |
| CXSC | |
| DCONWS |
12 |
| LPR |
80 |
| LSCN | |
| LSCX | |
| PSK | |
| Rundlauf |
< 3µm |
| TDCON | |
| THID |
M10x1 |
Related products
ER-Precision collet chuck PSK 50 – 2/20 – 70 | ER 32
Application:
For mounting straight-shank tools in 2 µm-collets.
Advantage:
- Excellent concentricity in the system (chuck + collet + clamping nut)
- 3 µm radial run-out with a 2 µm clamping nut, 6 µm radial run-out with a 5 µm clamping nut
- Extremely strong holding force (increases the holding power by at least 60% compared to standard ER chuck)
- Plain clamping nut without grooves for high speed machining
Hydraulic expansion chuck HSK 63 – 10 – 100
Application:
For mounting straight-shank tools acc. DIN 1835 form A+B+E and DIN 6535 form HA+HB+HE (larger than dia. 20 mm only with reduction sleeve).
Note:
l1 = max. clamping depth l2 = max. length adjustment range
Delivery:
Without wrench
- All holders are made of forged steel
- Specific, low warpage hardened
- Surface hardened HRC 58~60
- Hardening depth 0,8mm~0,9mm
- Taper angle tolerance < AT 3 according to DIN 2080
- Surface roughness Ra < 0,4 µm
- Tensile strength in the core of min. 800 N/mm? after DIN
- All functional surfaces fine machined
ER-Precision collet chuck HSK 63 – 2/20 – 100 | ER 32
Application:
For mounting straight-shank tools in 2 µm-collets.
Advantage:
- Excellent concentricity in the system (chuck + collet + clamping nut)
- 3 µm radial run-out with a 2 µm clamping nut, 6 µm radial run-out with a 5 µm clamping nut
- Extremely strong holding force (increases the holding power by at least 60% compared to standard ER chuck)
- Plain clamping nut without grooves for high speed machining
ER-Precision collet chuck PSK 40 – 2/20 – 70 | ER 32
Application:
For mounting straight-shank tools in 2 µm-collets.
Advantage:
- Excellent concentricity in the system (chuck + collet + clamping nut)
- 3 µm radial run-out with a 2 µm clamping nut, 6 µm radial run-out with a 5 µm clamping nut
- Extremely strong holding force (increases the holding power by at least 60% compared to standard ER chuck)
- Plain clamping nut without grooves for high speed machining
ER-Precision collet chuck SK 40 – 2/20 – 70 | ER 32
Application:
For mounting straight-shank tools in 2 µm-collets.
Advantage:
- Excellent concentricity in the system (chuck + collet + clamping nut)
- 3 µm radial run-out with a 2 µm clamping nut, 6 µm radial run-out with a 5 µm clamping nut
- Extremely strong holding force (increases the holding power by at least 60% compared to standard ER chuck)
- Plain clamping nut without grooves for high speed machining
Hydraulic expansion chuck SK 40 – 16 – 80
Application:
For mounting straight-shank tools acc. DIN 1835 form A+B+E and DIN 6535 form HA+HB+HE (larger than dia. 20 mm only with reduction sleeve).
Note:
l1 = max. clamping depth l2 = max. length adjustment range
Without wrench
- All holders are made of forged steel
- Specific, low warpage hardened
- Surface hardened HRC 58~60
- Hardening depth 0,8mm~0,9mm
- Taper angle tolerance < AT 3 according to DIN 2080
- Surface roughness Ra < 0,4 µm
- Tensile strength in the core of min. 800 N/mm? after DIN
- All functional surfaces fine machined


