PART OF CATALOG
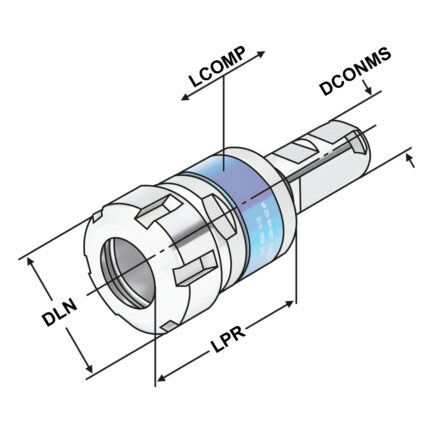
Tapping chucks for synchronisation 25 – M4-M27 | ER 32
Application:
For machining centres with synchronous spindle.
Note:
- Synchro tapping chucks compensate synchronisation errors.
- Minimal length compensation on compression and expansion balances very small pitch differences between synchro spindle and tap, which can cause high frictional forces on the thread flanks.
- A possible increase of axial force during the tapping process is reduced to a minimum.
- Suitable for internal coolant.
- Coolant pressure up to max. 100 bar.
Delivery:
With balanced clamping nut
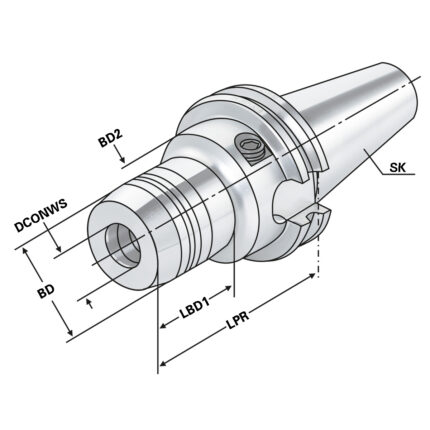
Hydraulic expansion chuck SK 50 – 16 – 80
New items, Hydraulic chucks special offer 2023, ISO 7388-1 [DIN 69871], Hydraulic expansion chucks, SK 50
Application:
For mounting straight-shank tools acc. DIN 1835 form A+B+E and DIN 6535 form HA+HB+HE (larger than dia. 20 mm only with reduction sleeve).
Note:
l1 = max. clamping depth l2 = max. length adjustment range
Delivery:
With wrench
- All holders are made of forged steel
- Specific, low warpage hardened
- Surface hardened HRC 58~60
- Hardening depth 0,8mm~0,9mm
- Taper angle tolerance < AT 3 according to DIN 2080
- Surface roughness Ra < 0,4 µm
- Tensile strength in the core of min. 800 N/mm? after DIN
- All functional surfaces fine machined
High Performance Milling Chuck BT 50-25-95 JIS B 6339 (MAS-BT) HKS-system in wooden box
Application:
For mounting straight-shank tools.
- All holders are made of forged steel
- Specific, low warpage hardened
- Surface hardened HRC 58~60
- Hardening depth 0,8mm~0,9mm
- Taper angle tolerance < AT 3 according to DIN 2080
- Surface roughness Ra < 0,4 µm
- Tensile strength in the core of min. 800 N/mm? after DIN
- All functional surfaces fine machined
Shrink chuck 4,5° PSK 63 – 25 – 90
Application:
For mounting tools with straight shanks.
Note:
Aufnahmen fur Induktiv-, Kontakt- und Hei?luftschrumpfgerate geeignet. Schafttoleranz bei O 3, 4 und 5 mm = h4, bei O 6 O 32 mm = h237
For O 3, 4 and 5 mm only solid carbide tool shanks must be used!
- All holders are made of forged steel
- Specific, low warpage hardened
- Surface hardened HRC 58~60
- Hardening depth 0,8mm~0,9mm
- Taper angle tolerance < AT 3 according to DIN 2080
- Surface roughness Ra < 0,4 µm
- Tensile strength in the core of min. 800 N/mm? after DIN
- All functional surfaces fine machined
Combi shell mill holder MK 3 – 16 – 48
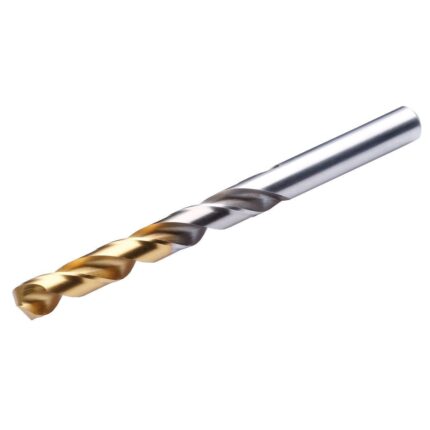
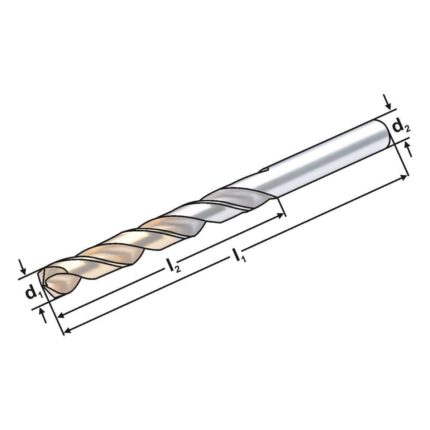
HSSE twist drill 135° 11,7 mm DIN 338 | TIN coating
ER-Collet ER16 | 426E | < 15µm | O 9 - 8
FREE CONSULTATION


