Ja
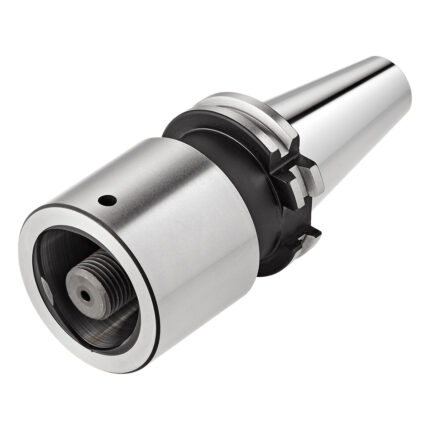
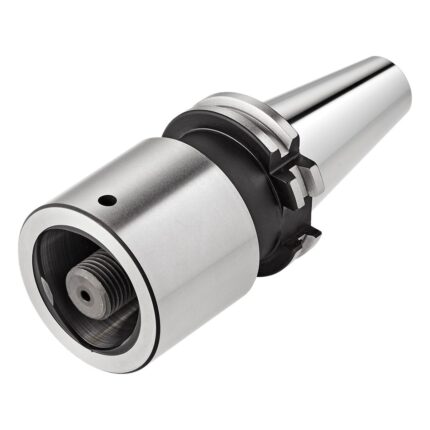
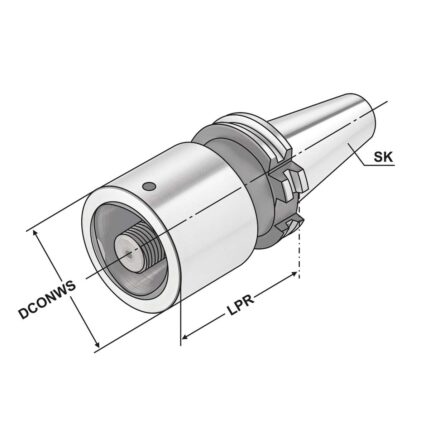
Adapters SK to SK SK 40 – SK 30 – 50
Adapters SK to SK SK 40 – SK 40 – 100
Application:
For holding tapers according to DIN 69871, JIS B 6339 and DIN 2080.
Delivery:
Delivered with a built-in screw for shortened taper tools. Additional screw for DIN 2080 tools included.
- All holders are made of forged steel
- Specific, low warpage hardened
- Surface hardened HRC 58~60
- Hardening depth 0,8mm~0,9mm
- Taper angle tolerance < AT 3 according to DIN 2080
- Surface roughness Ra < 0,4 µm
- Tensile strength in the core of min. 800 N/mm? after DIN
- All functional surfaces fine machined
Adapters SK to SK SK 50 – SK 40 – 70
Application:
For holding tapers according to DIN 69871, JIS B 6339 and DIN 2080.
Delivery:
Delivered with a built-in screw for shortened taper tools. Additional screw for DIN 2080 tools included.
- All holders are made of forged steel
- Specific, low warpage hardened
- Surface hardened HRC 58~60
- Hardening depth 0,8mm~0,9mm
- Taper angle tolerance < AT 3 according to DIN 2080
- Surface roughness Ra < 0,4 µm
- Tensile strength in the core of min. 800 N/mm? after DIN
- All functional surfaces fine machined
Adapters SK to SK SK 50 – SK 50 – 120
Application:
For holding tapers according to DIN 69871, JIS B 6339 and DIN 2080.
Delivery:
Delivered with a built-in screw for shortened taper tools. Additional screw for DIN 2080 tools included.
- All holders are made of forged steel
- Specific, low warpage hardened
- Surface hardened HRC 58~60
- Hardening depth 0,8mm~0,9mm
- Taper angle tolerance < AT 3 according to DIN 2080
- Surface roughness Ra < 0,4 µm
- Tensile strength in the core of min. 800 N/mm? after DIN
- All functional surfaces fine machined
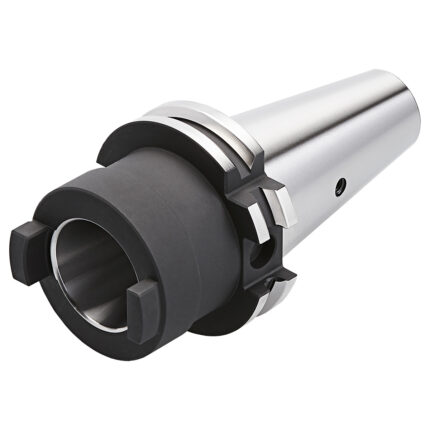
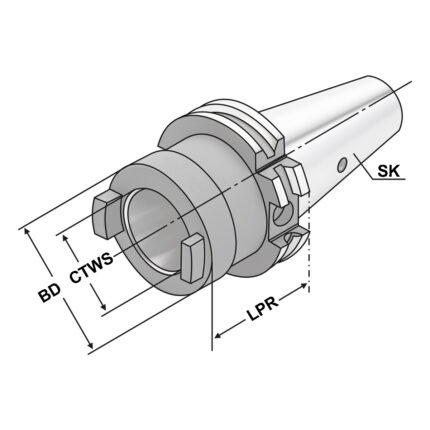
Adaptor SK to ISO 26623 (PSK) SK 40 – PSK 32 – 30
Application:
For adaption from ISO40 to PSC (ISO 7388-1 to ISO 26623-1)
Delivery:
Clamping screw
Version:
Adapters ISO / PSK with axial clamping. Ground internally and externally. The internal thread provided for the coolant tube in the PSC toolholder is plugged with the socket-head screw incorporated in the adapter. The clamping screw incorporates a through hole, so the system is suitable for through-coolant feed.
Suitable for tool arbor with polygonal shank (PSC) - ISO 26623-1.
Adaptor SK to ISO 26623 (PSK) SK 40 – PSK 40 – 40
Application:
For adaption from SK/ISO to PSC (ISO 7388-1 to ISO 26623-1)
Delivery:
Clamping screw
Version:
Adapters HSK / PSK with axial clamping. Ground internally and externally. The internal thread provided for the coolant tube in the PSC toolholder is plugged with the socket-head screw incorporated in the adapter. The clamping screw incorporates a through hole, so the system is suitable for through-coolant feed.
Suitable for tool arbor with polygonal shank (PSC) - ISO 26623-1.
Adaptor SK to ISO 26623 (PSK) SK 40 – PSK 50 – 50
Application:
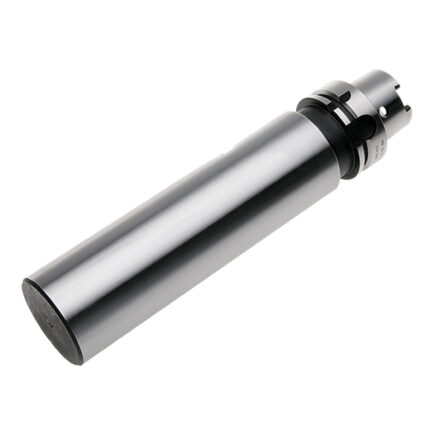
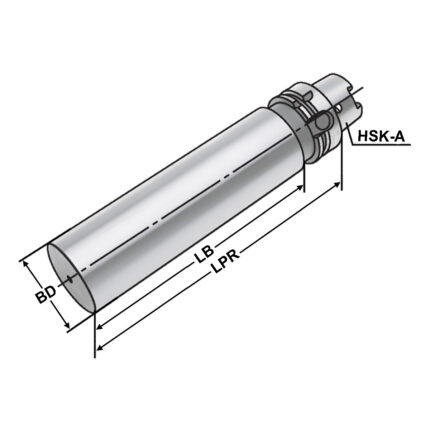
For adaption from HSK-A to PSC (ISO 7388-1 to ISO 26623-1)
Delivery:
Clamping screw
Version:
Adapters HSK / PSK with axial clamping. Ground internally and externally. The internal thread provided for the coolant tube in the PSC toolholder is plugged with the socket-head screw incorporated in the adapter. The clamping screw incorporates a through hole, so the system is suitable for through-coolant feed.
Suitable for tool arbor with polygonal shank (PSC) - ISO 26623-1.
Adaptor SK to ISO 26623 (PSK) SK 40 – PSK 63 – 90
Application:
For adaption from HSK-A to PSC (ISO 7388-1 to ISO 26623-1)
Delivery:
Clamping screw
Version:
Adapters HSK / PSK with axial clamping. Ground internally and externally. The internal thread provided for the coolant tube in the PSC toolholder is plugged with the socket-head screw incorporated in the adapter. The clamping screw incorporates a through hole, so the system is suitable for through-coolant feed.
Suitable for tool arbor with polygonal shank (PSC) - ISO 26623-1.

