Measuring technique
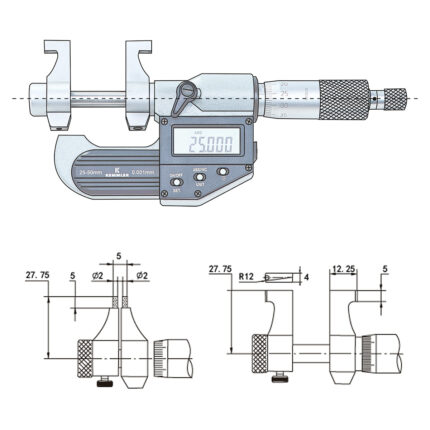
Inside micrometer | digital | 25-50mm with data output | IP 65
Construction:
- Resolution: .00005" / 0.001mm
- Designed for the measurement of intricate internal characteristics
- cartide tipped measuring sufaces
- Satin chrome finished
- 5-30mm and 25-50mm range are supplied with setting rings
- Ratchet stop
Delivery:
- S-wrench
- Setting rings
- Warranty card
- Instruction manual
- Calibration certificate
- LR44 1,5V Battery
Inside micrometer | digital | 5-30mm with data output | IP 65
Construction:
- Resolution: .00005" / 0.001mm
- Designed for the measurement of intricate internal characteristics
- cartide tipped measuring sufaces
- Satin chrome finished
- 5-30mm and 25-50mm range are supplied with setting rings
- Ratchet stop
Delivery:
- S-wrench
- Setting rings
- Warranty card
- Instruction manual
- Calibration certificate
- LR44 1,5V Battery
Inside micrometer | digital | 50-75mm with data output | IP 65
Construction:
- Resolution: .00005" / 0.001mm
- Designed for the measurement of intricate internal characteristics
- cartide tipped measuring sufaces
- Satin chrome finished
- 5-30mm and 25-50mm range are supplied with setting rings
- Ratchet stop
Delivery:
- S-wrench
- Warranty card
- Instruction manual
- Calibration certificate
- LR44 1,5V Battery
Inside micrometer | digital | 75-100mm with data output | IP 65
Construction:
- Resolution: .00005" / 0.001mm
- Designed for the measurement of intricate internal characteristics
- cartide tipped measuring sufaces
- Satin chrome finished
- 5-30mm and 25-50mm range are supplied with setting rings
- Ratchet stop
Delivery:
- S-wrench
- Warranty card
- Instruction manual
- Calibration certificate
- LR44 1,5V Battery
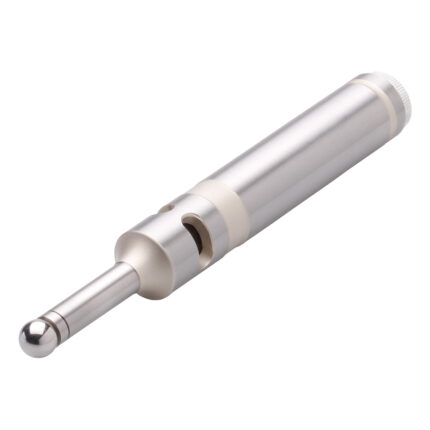
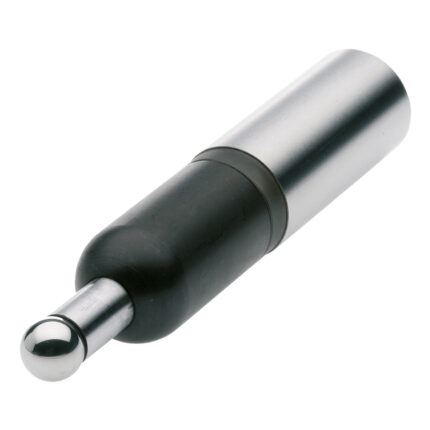
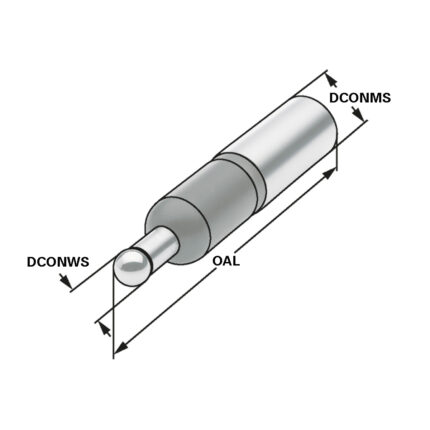
Kantentaster elektronisch 16 – 100 – 10
Application:
Alignment of component reference surfaces or edges. Determination of bore centres to the machine spindle.
Note:
Spring mounted spherical tip protects the unit from damage if contact is too strong. Functional parts hardened and ground. Concentricity: ± 0.01 mm.
When contact between the spherical tip and metal component occurs, the control lamp lights up = identification of the reference point.
Kantentaster elektronisch 20 – 160 – 10
Application:
Alignment of component reference surfaces or edges. Determination of bore centres to the machine spindle.
Note:
Spring mounted spherical tip protects the unit from damage if contact is too strong. Functional parts hardened and ground. Concentricity: ± 0.01 mm.
Function:
When contact between the spherical tip and metal component occurs, the control lamp lights up = identification of the reference point.
Delivery:
CR2032 3,0V Battery
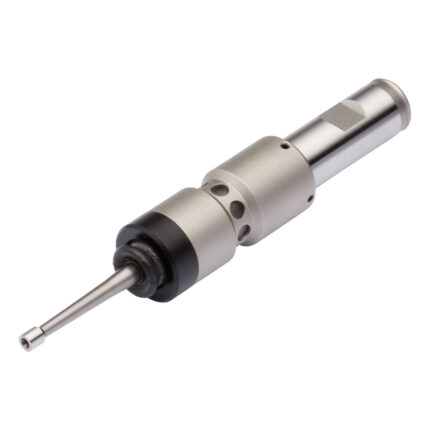
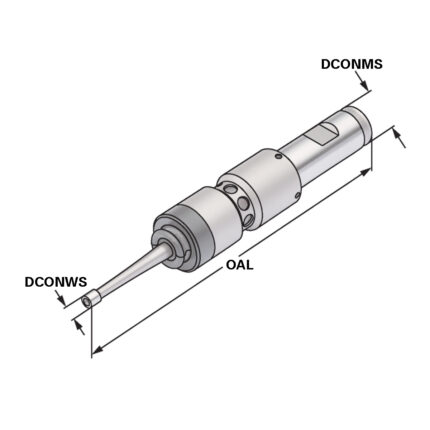
Kantentaster elektronisch 3D 16 – 111 – 10
Application:
Alignment of component reference surfaces or edges. Determination of bore centres to the machine spindle.
Note:
The spring-mounted spherical tip protects the unit from damage if contact is too strong. Functional parts hardened and ground. Concentricity: ± 0.01 mm.
When contact between the spherical tip and metal component occurs, the control lamp lights up = identification of the reference point.
Kantentaster elektronisch 3D 20 – 106 – 10
Application:
Alignment of component reference surfaces or edges. Determination of bore centres to the machine spindle.
Note:
The spring-mounted spherical tip protects the unit from damage if contact is too strong. Functional parts hardened and ground. Concentricity: ± 0.01 mm.
When contact between the spherical tip and metal component occurs, the control lamp lights up = identification of the reference point.
Kantentaster elektronisch 3D 20 – 173 – 6
Application:
Alignment of component reference surfaces or edges. Determination of bore centres to the machine spindle.
Note:
Function: When contact with the metal component occurs, the control lamp lights up = identification of the reference point.
Version: The contact point has a flexible connection to the body via a spring, with an alignment accuracy of 0.01 mm. All parts fully hardened and ground.
Delivery:
LR1N Batterie 1,5V

