Shrink chuck 4,5° with cooling channels BT 40 – 16 – 90
Application:
For mounting tools with straight shanks.
Note:
Toolholders suitable for induction-, contact- and hot air shrink units. O 3, 4, 5 with h4-tolerance and O 6 O 32 with h6-tolerance
For O 3, 4 and 5 mm only solid carbide tool shanks must be used!
- All holders are made of forged steel
- Specific, low warpage hardened
- Surface hardened HRC 58~60
- Hardening depth 0,8mm~0,9mm
- Taper angle tolerance < AT 3 according to DIN 2080
- Surface roughness Ra < 0,4 µm
- Tensile strength in the core of min. 800 N/mm? after DIN
- All functional surfaces fine machined
HSS-E spiral flute taps fine thread M14 11×9 P=1,5 DIN 374
Application:
- Thread configuration with a special design, prevents overfeeding, thin thread and pitch diameter oversize.
- Flute geometry with special design, better chip evacuation, prevents chip clogging, improves thread quality
- Excellent performance on various work material: Stainless steel, carbon steel, alloyed steel, tool steel
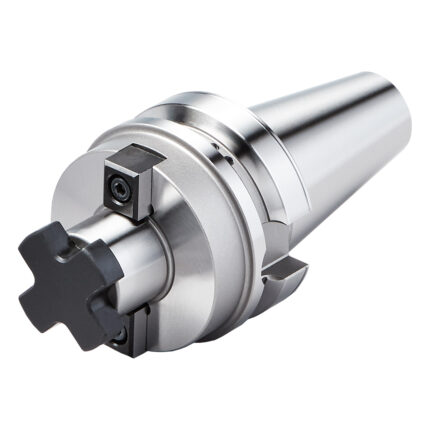
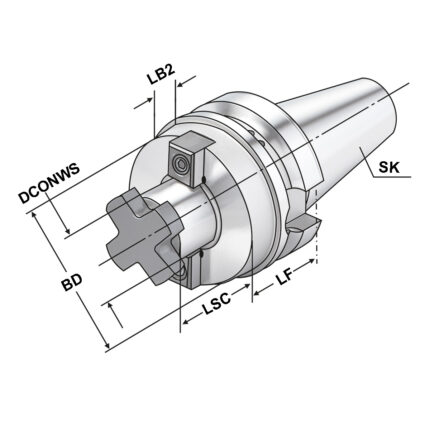
Shell mill holder BT 40 – 16 – 100
Application:
For mounting milling cutters with transversal groove.
Note:
d = 40/d = 60: For large diameter face mill cutters with four additional threaded holes according to DIN 2079.
SK 30 without coolant exit bores on the end face
Delivery:
With drivers, cross head retaining screw and cylinder head retaining screw for cutters with central coolant. For d = 60 only with four fi xation screws according to DIN 912.
- All holders are made of forged steel
- Specific, low warpage hardened
- Surface hardened HRC 58~60
- Hardening depth 0,8mm~0,9mm
- Taper angle tolerance < AT 3 according to DIN 2080
- Surface roughness Ra < 0,4 µm
- Tensile strength in the core of min. 800 N/mm? after DIN
- All functional surfaces fine machined
CNC-Drill chuck BT 30 – 1/13 – 93
Application:
For mounting tools with straight shanks.
- All holders are made of forged steel
- Specific, low warpage hardened
- Surface hardened HRC 58~60
- Hardening depth 0,8mm~0,9mm
- Taper angle tolerance < AT 3 according to DIN 2080
- Surface roughness Ra < 0,4 µm
- Tensile strength in the core of min. 800 N/mm? after DIN
- All functional surfaces fine machined
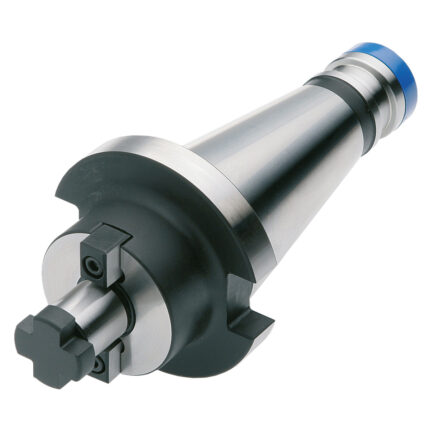
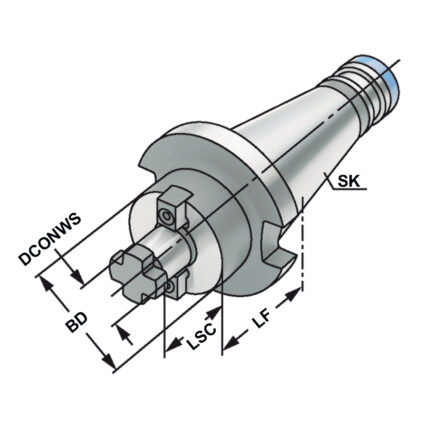
Shell mill holder SK 50 – 60 – 55
Application:
For mounting milling cutters with transversal groove.
Note:
d = 40/d = 60: For large diameter face mill cutters with four additional threaded holes according to DIN 2079.
SK 30 without coolant exit bores on the end face
Delivery:
With drivers, cross head retaining screw and cylinder head retaining screw for cutters with central coolant. For d = 60 only with four fi xation screws according to DIN 912.
- All holders are made of forged steel
- Specific, low warpage hardened
- Surface hardened HRC 58~60
- Hardening depth 0,8mm~0,9mm
- Taper angle tolerance < AT 3 according to DIN 2080
- Surface roughness Ra < 0,4 µm
- Tensile strength in the core of min. 800 N/mm? after DIN
- All functional surfaces fine machined


